With my friend and riding partner Leslie visiting last week, we had a lot of time to compare gear and talk about food. We looked at our various stove options and decided to bring the JetBoil I got for my birthday last year. We happened to be at Onion River Sports drooling over bike gear and found a JetBoil Titanium Sumo pot which uses the same JetBoil stove but ups the pot capacity to 1.8 liters without adding much weight. This will be larger to carry but will ensure that we can rehydrate/cook the 4 cups of food we need to feed the two of us without having to dirty extra dishes. I’ll do a full gear “shake-down” closer to departure date.
Leslie has been doing lots of research on dehydrating meals to bring on hiking/biking trips, and has learned a lot. She adapted a handful of recipes from a cookbook by Laurie Ann March of WildernessCooking.com that she thought we’d enjoy. We spent a day and a half cooking, taste testing, adapting, and dehydrating meals. My parents were out of town again for a few weeks so we took over their kitchen and made a huge mess! They have a fabulous Excalibur Food Dehydrator which worked wonderfully. I highly recommend this over the round home dehydrators that require stacking the trays. We found we were drying different foods on different trays and being able to check them frequently and remove or shuffle trays around was really useful.
On previous trips we have found ourselves eating a lot of one dollar instant pasta or rice meals from gas stations which cook really fast and taste OK, but probably don’t have a lot of nutritional value. We decided this year to make our own meals and ship them to ourselves along the route. The idea of having meals with produce from my own garden while high up in the remote Idaho mountains is very appealing. I think we will use a “bounce box” model where instead of sending one box to each town along the route, we use one big box and pick it up in each town and re-mail it to where ever we go next. This way we can take out whatever we want at each stop and send the rest ahead for later. The other advantage is if we make alterations to the route we ride we won’t have to abandon re-supply boxes in towns we decide to skip.
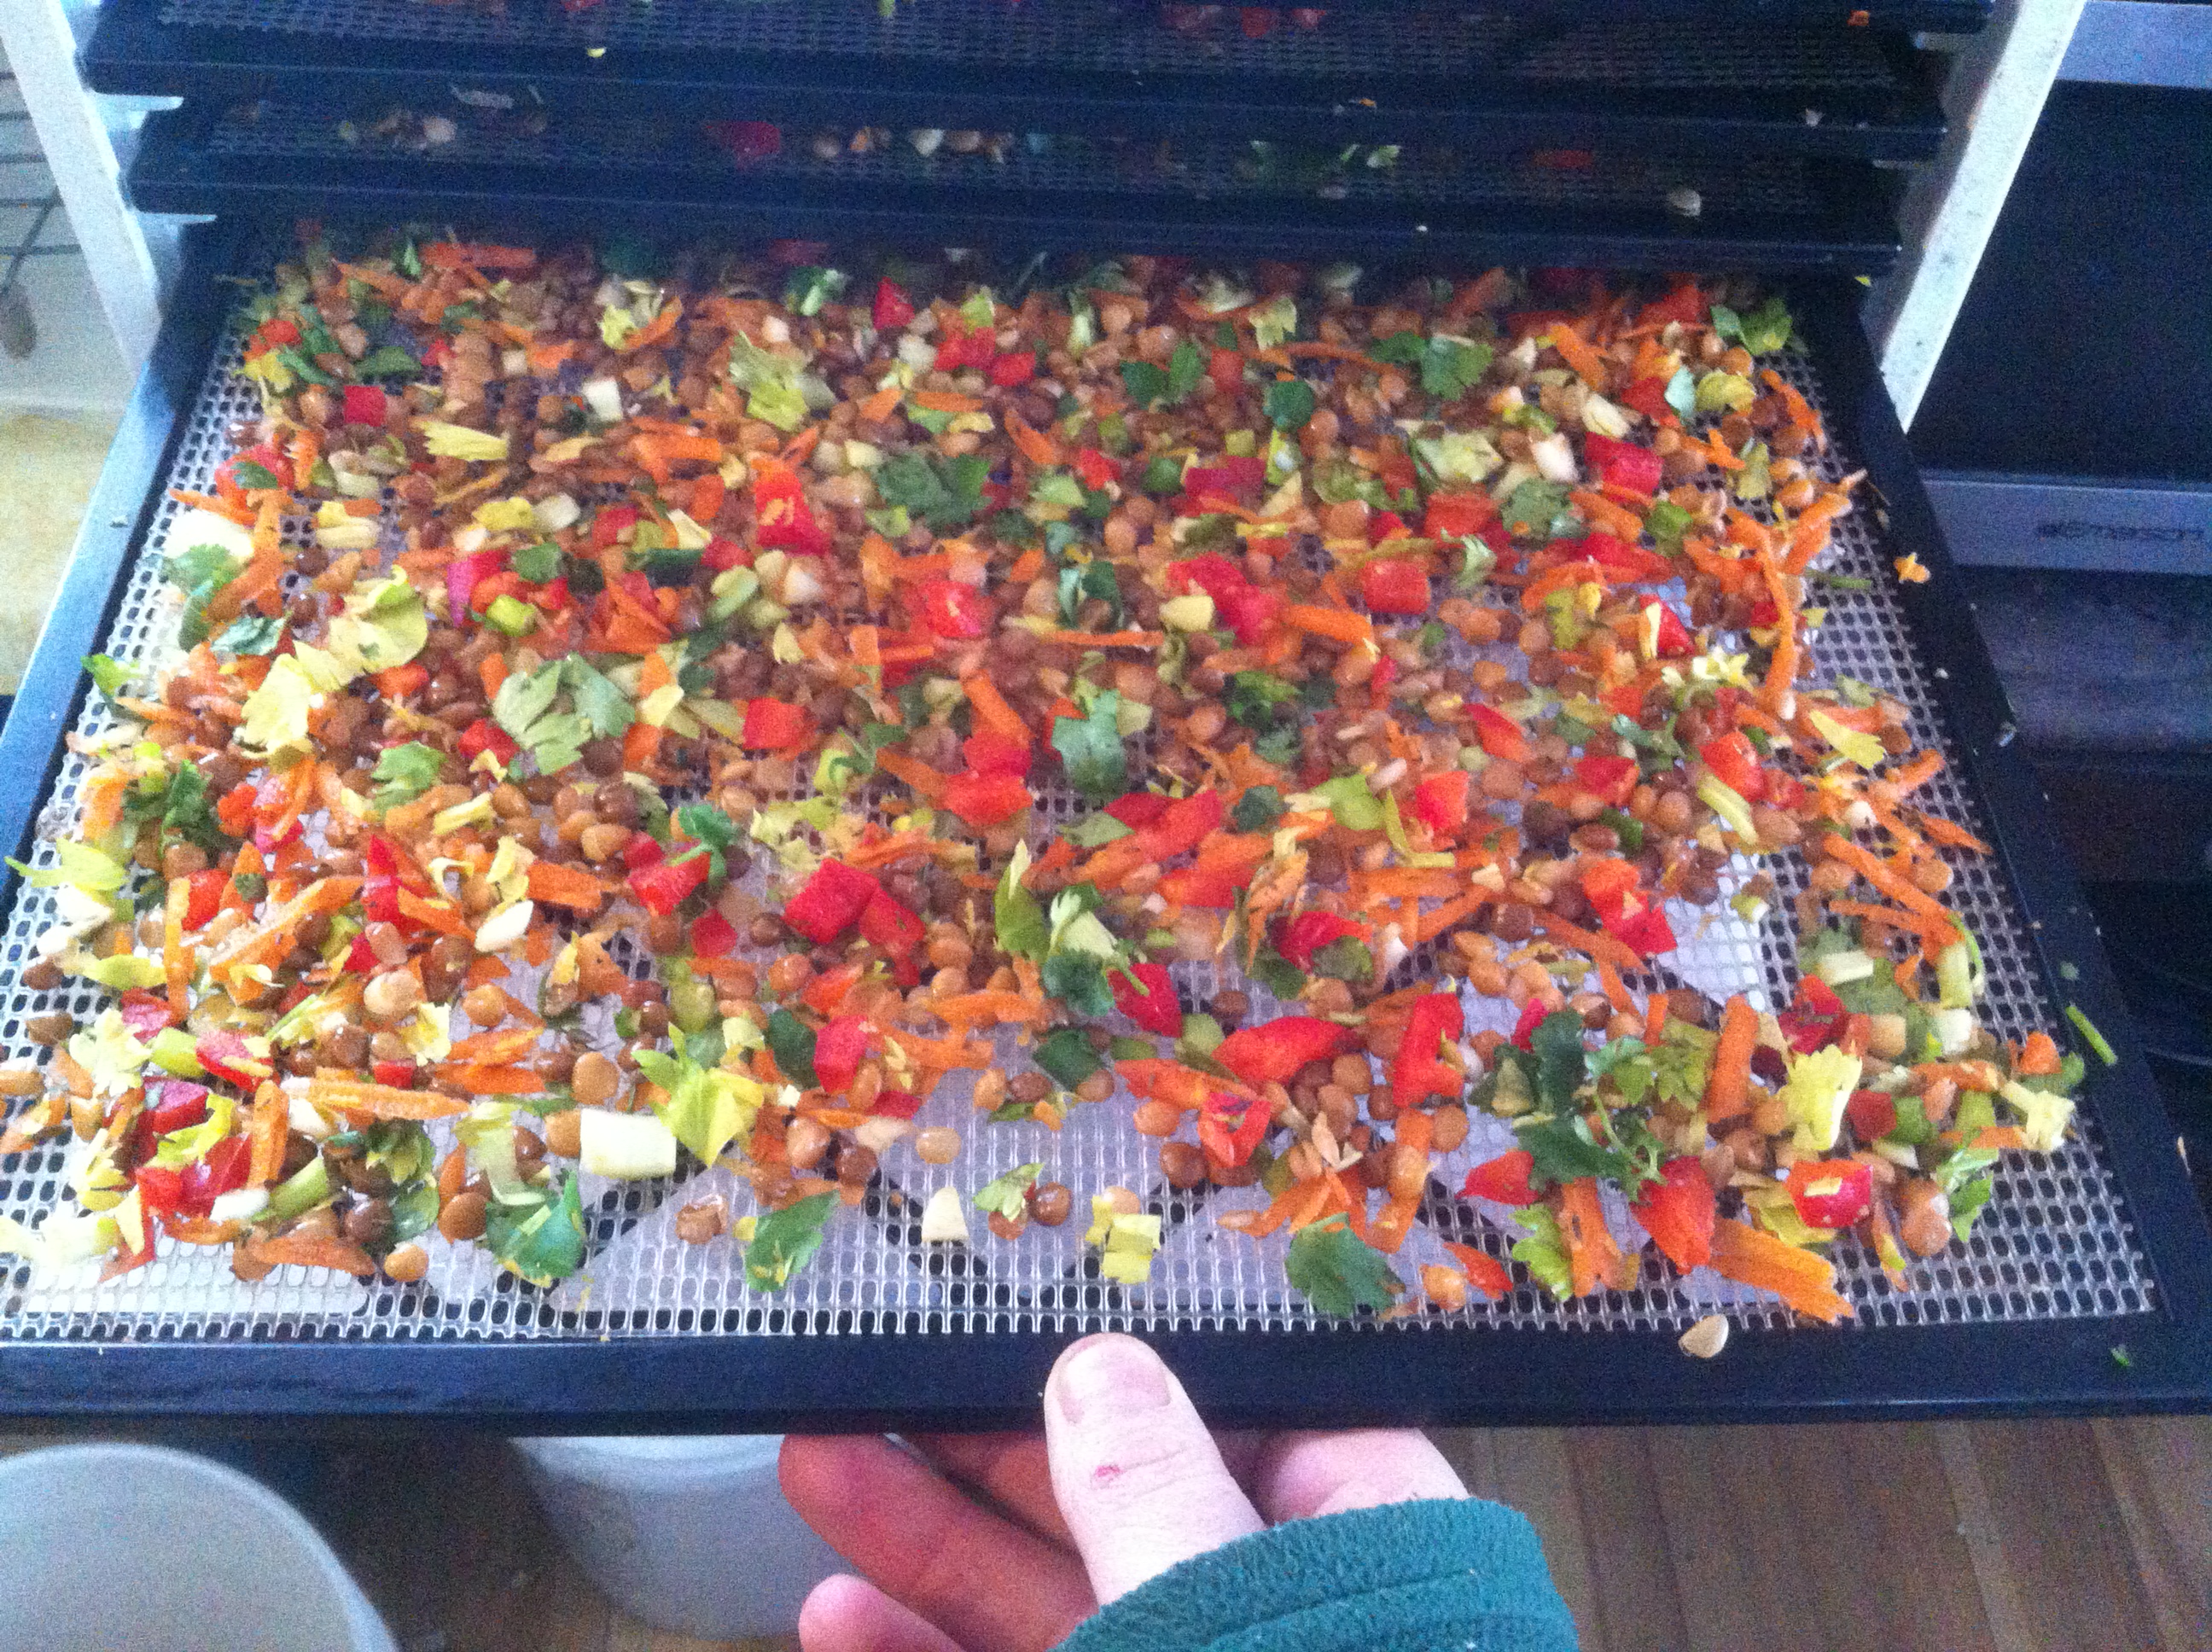
Some of the recipes we tried included Blueberry Hazelnut Quinoa, Tropical Couscous, Citrus Lentil Salad, White Bean and Mango Salad, Black Bean and Corn Salsa, and Black Bean, Corn and Sweet Potato Soup. These are meals that can be eaten in different ways depending on our moods and what supplies we’re able to along the way. For instance any of the meals could be served with couscous, with added Tuna or TVP, on tortillas or bagels, or over instant rice. We think these meals will give us a fair amount of flexibility in the field so we won’t get sick of them. In addition, we dehydrated some veggies which we can carry in separate ziplocks to add to instant meals we buy along the way. We’ll have bags of garlic, onions, green and red bell peppers, carrots, mushrooms and broccoli.
When all was said and done we cooked 20 servings, or 10 dinners for the two of us. This is a total of 40 cups of cooked food, which dried weighs just 4 pounds! Here are some fun photo’s of the process.
Our hearty meals are shrinking!
Citrus Lentil Salad: Beautiful, healthy, and delicious!
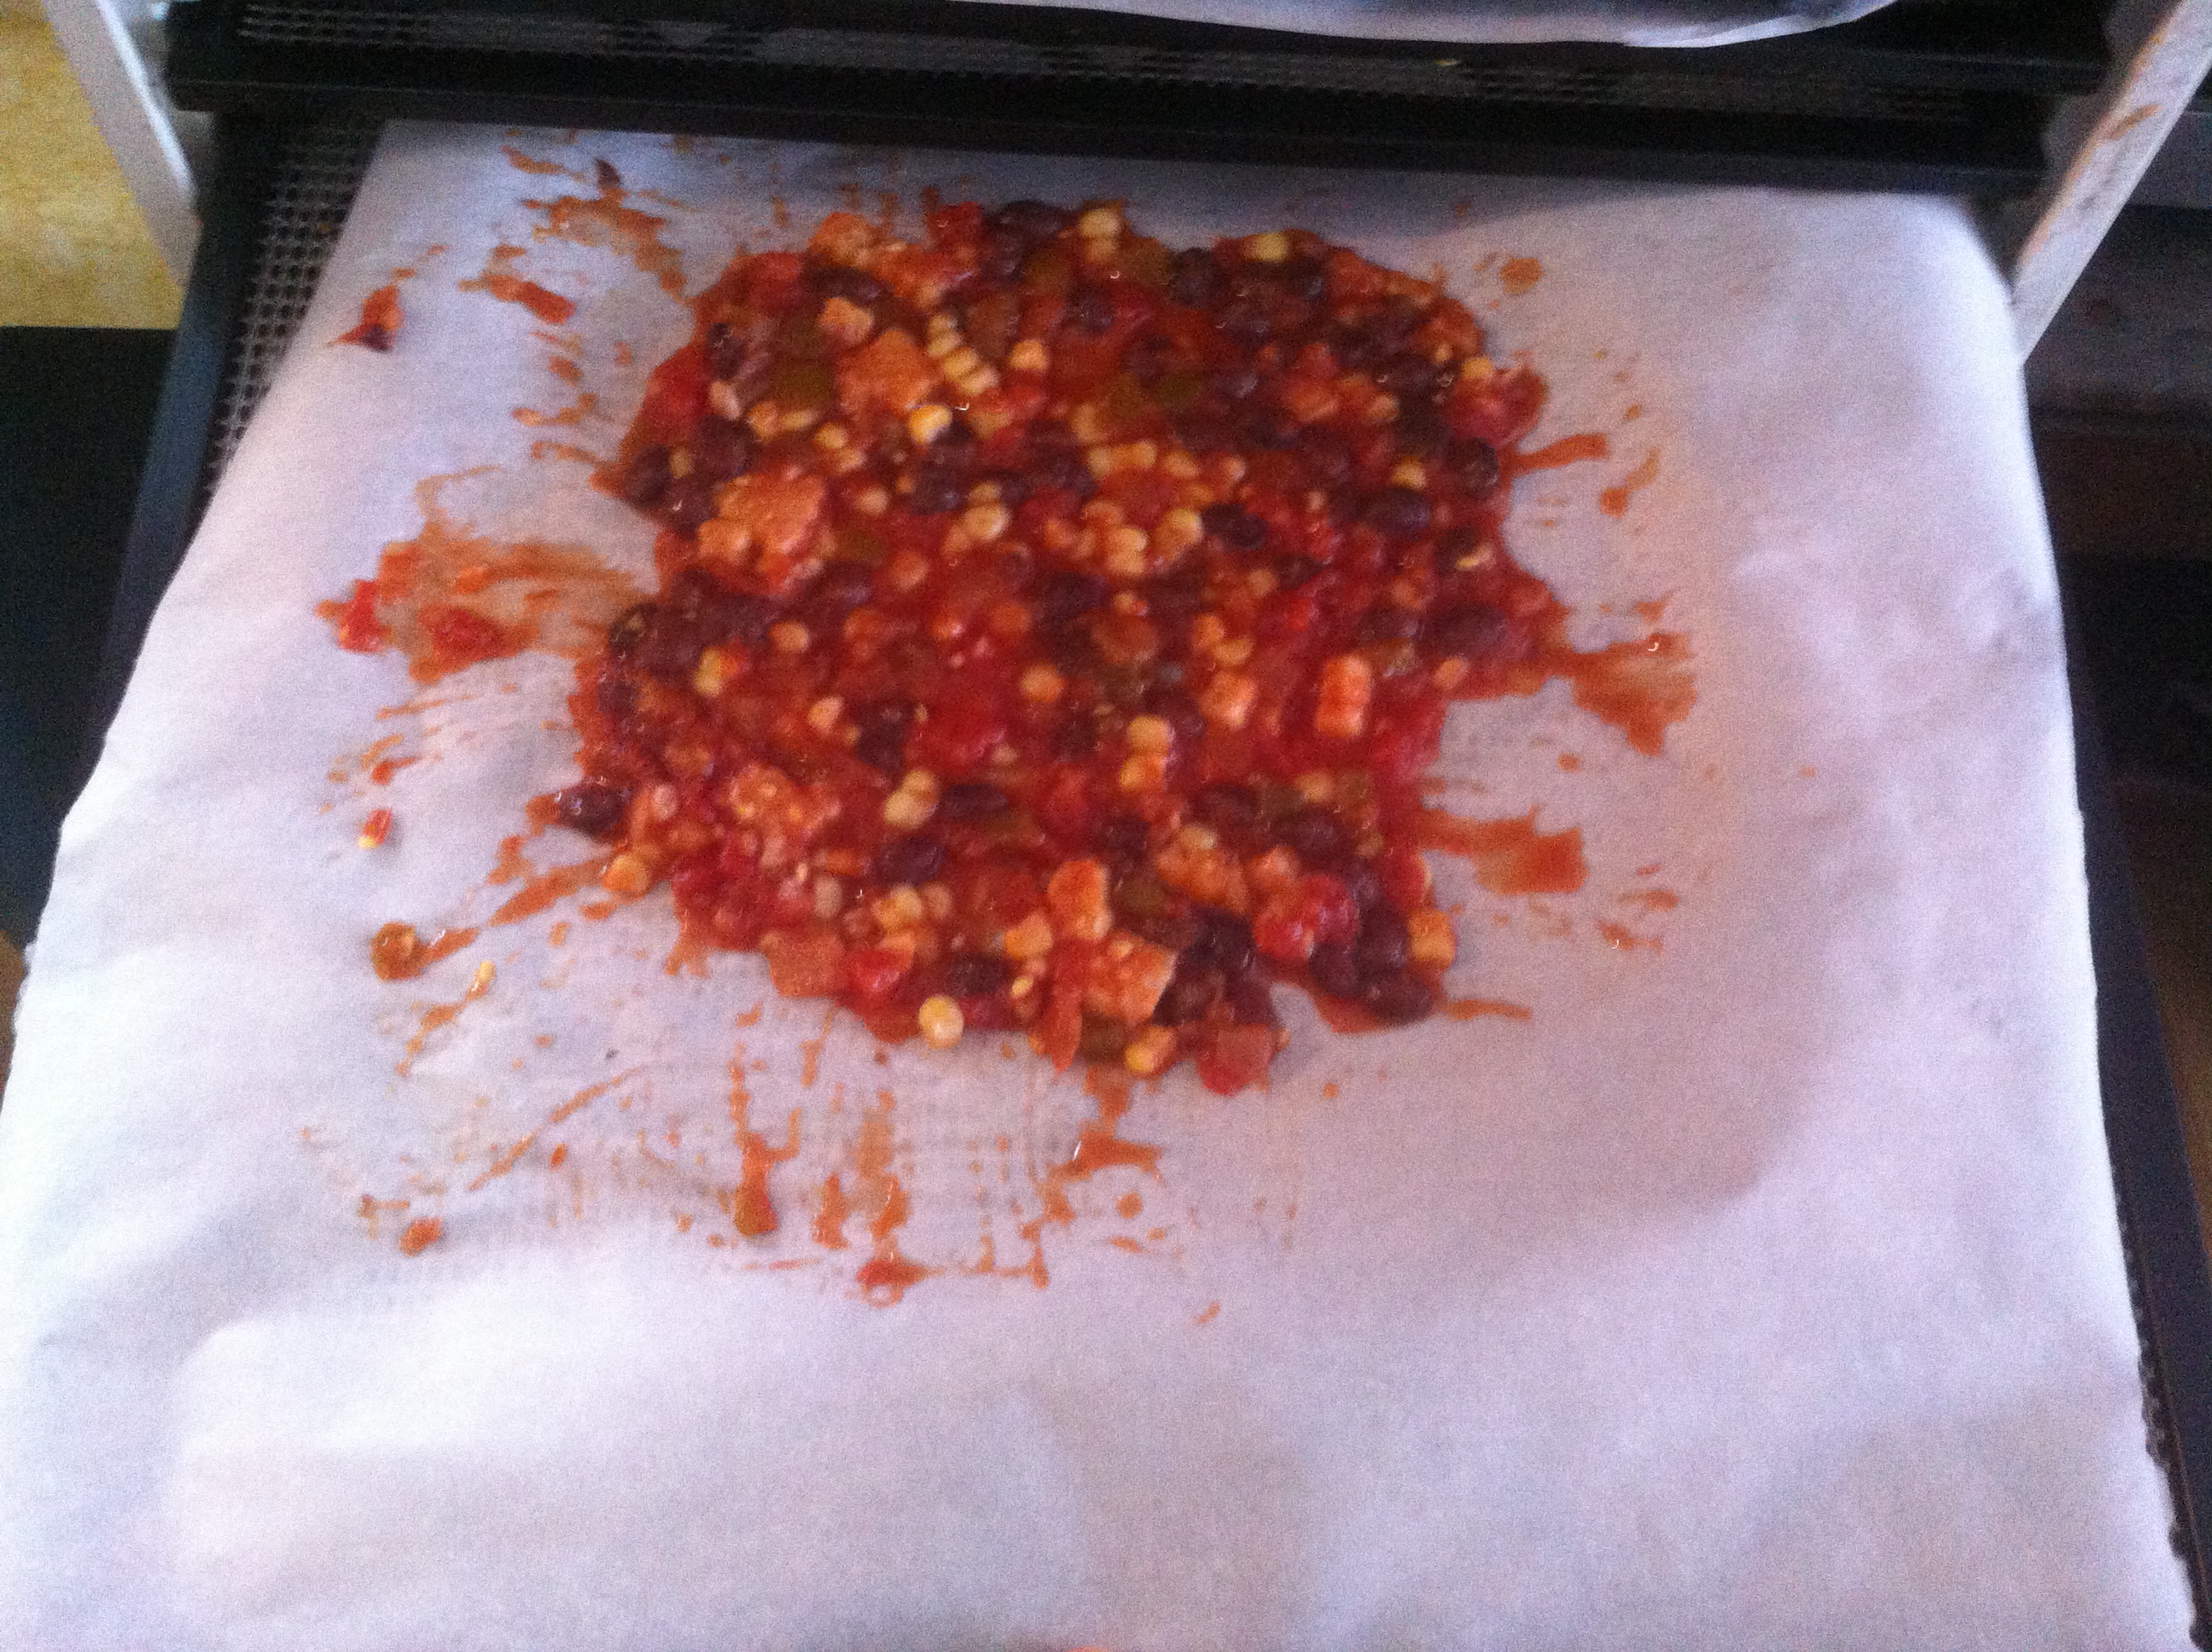
Black Bean and Corn Salsa – We’ll eat this w/ tortillas or add couscous and TVP
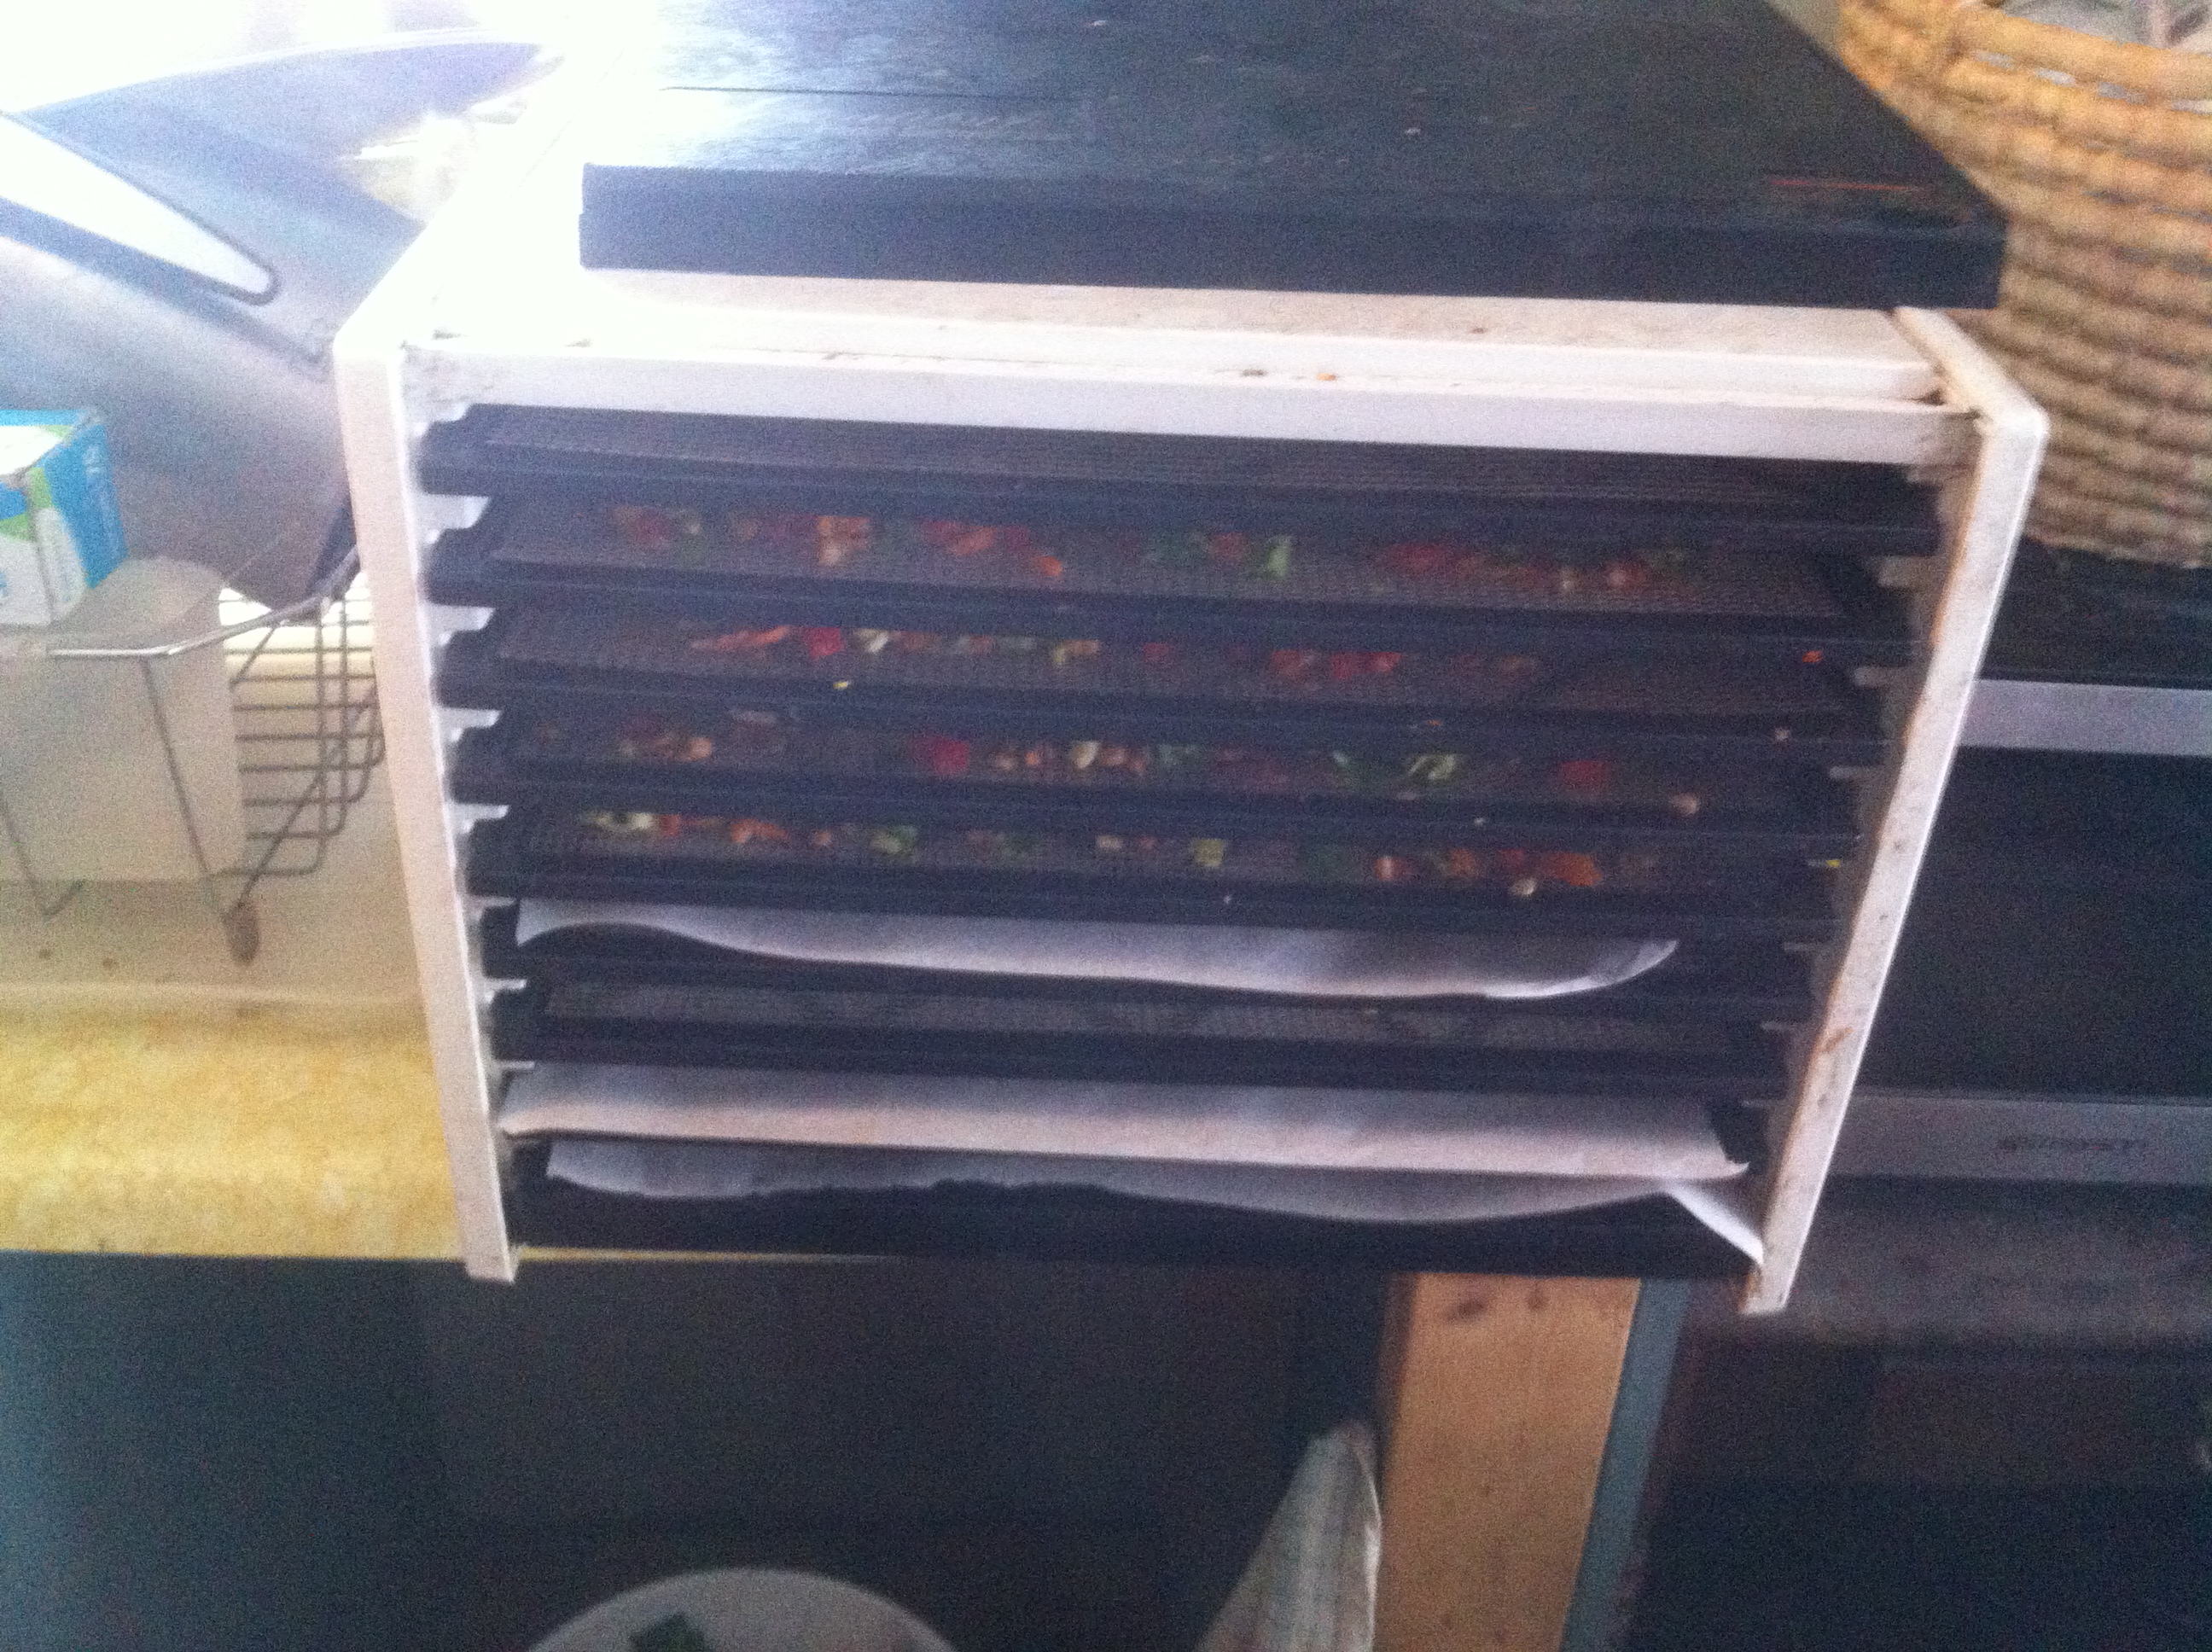
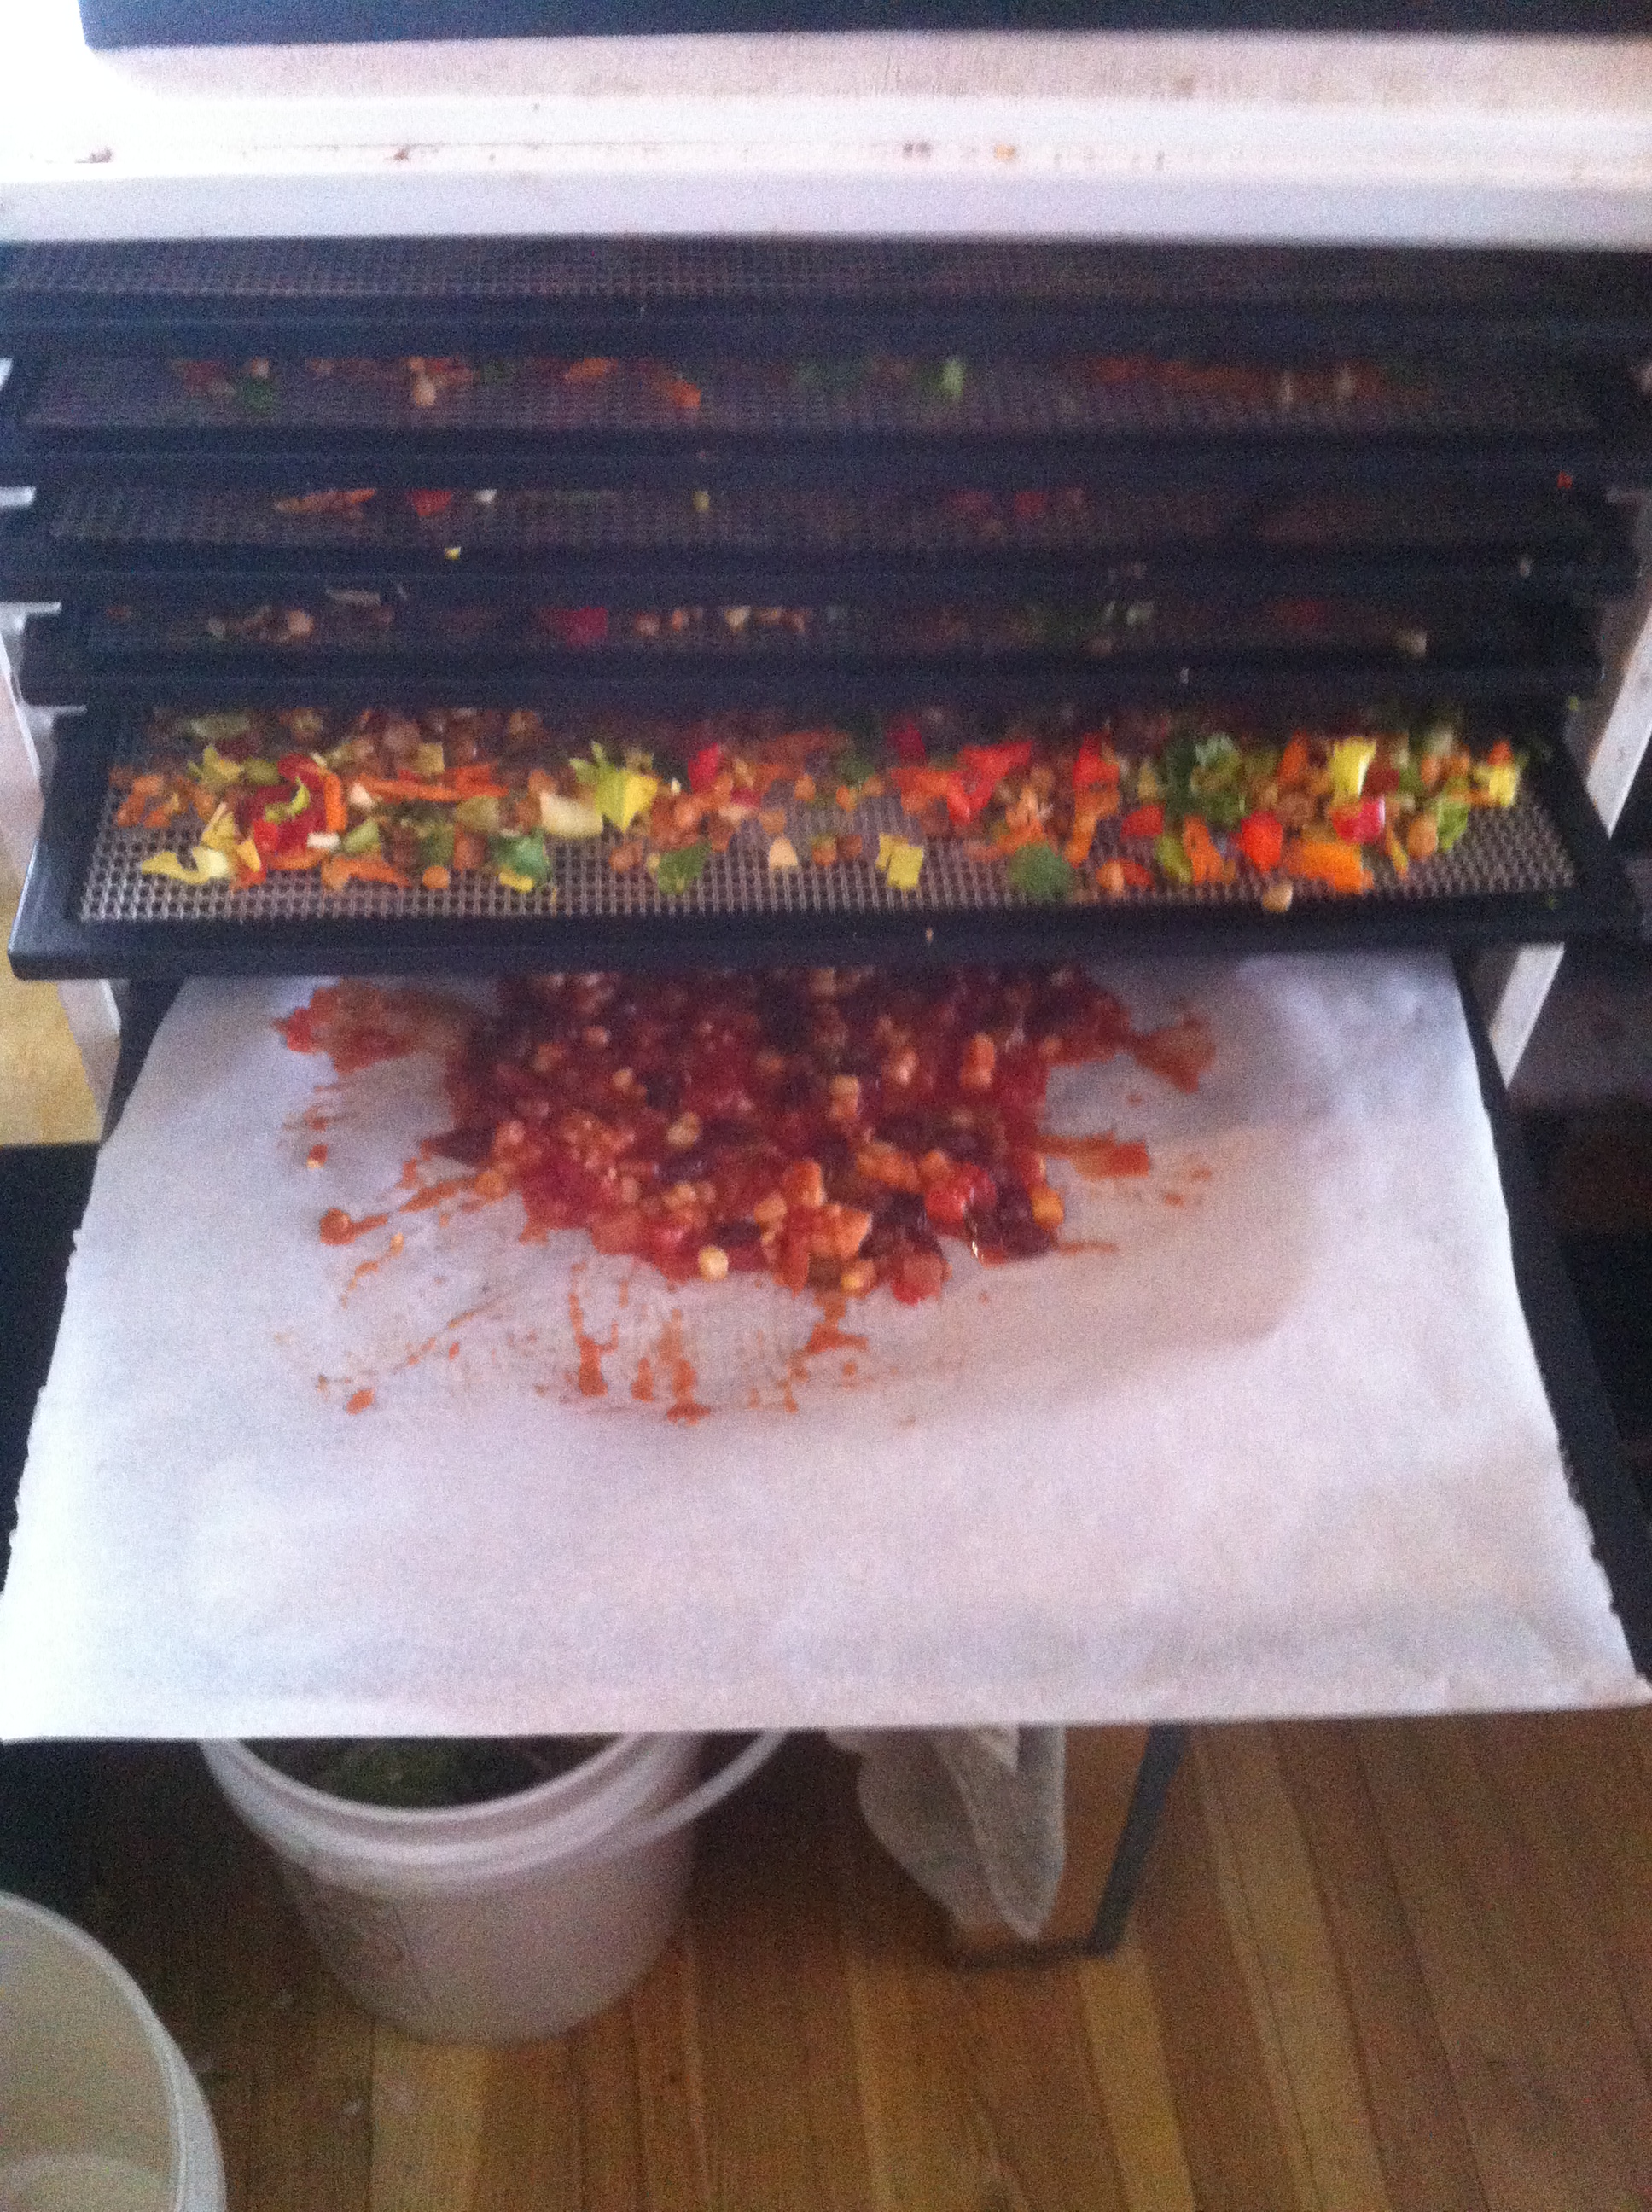
The dehydrator has 9 trays and works great! Soupier meals we dried on saran wrap or parchment paper. When we ran out of parchment paper we tried a tray with wax paper but it was an utter failure and we almost lost that meal.
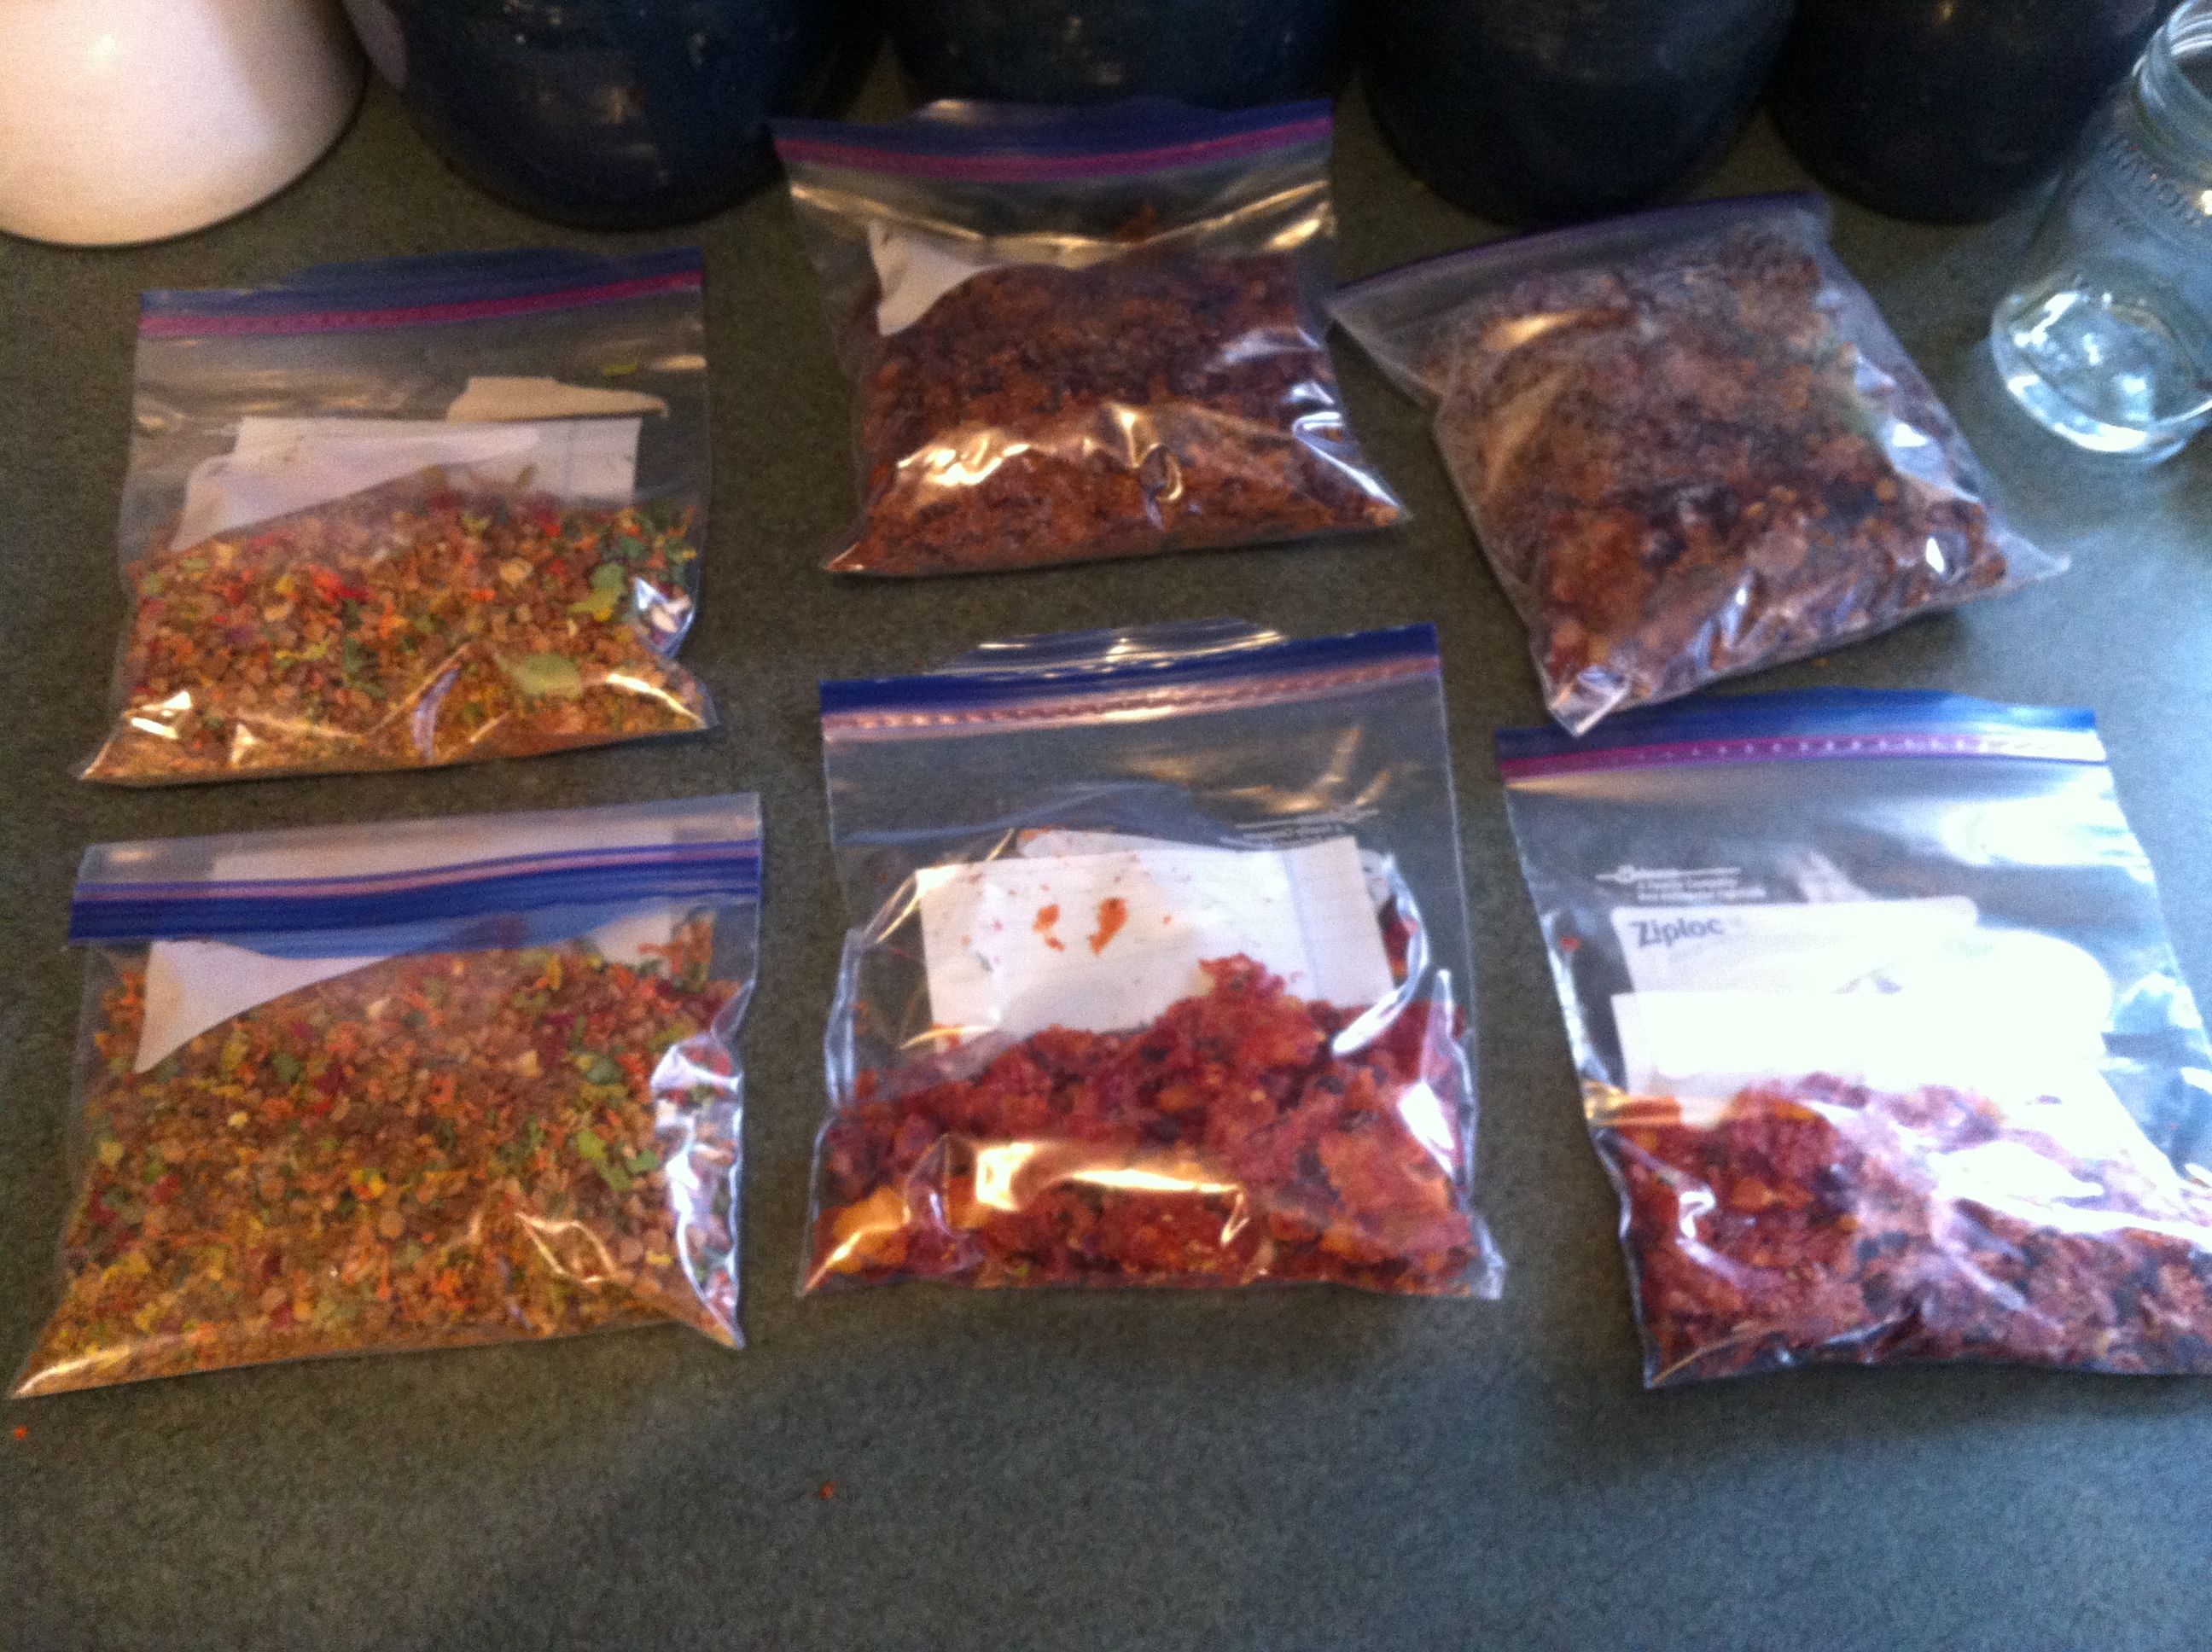
Each bag will re-hydrate into a 4 cup meal for the two of us. To rehydrate we’ll just fill the quart ziplock with boiling water and let it sit 10 minutes. We did a test cook and it worked great! If you are trying this, be sure to use freezer bags, as non-freezer bags don’t withstand the boiling water as well.
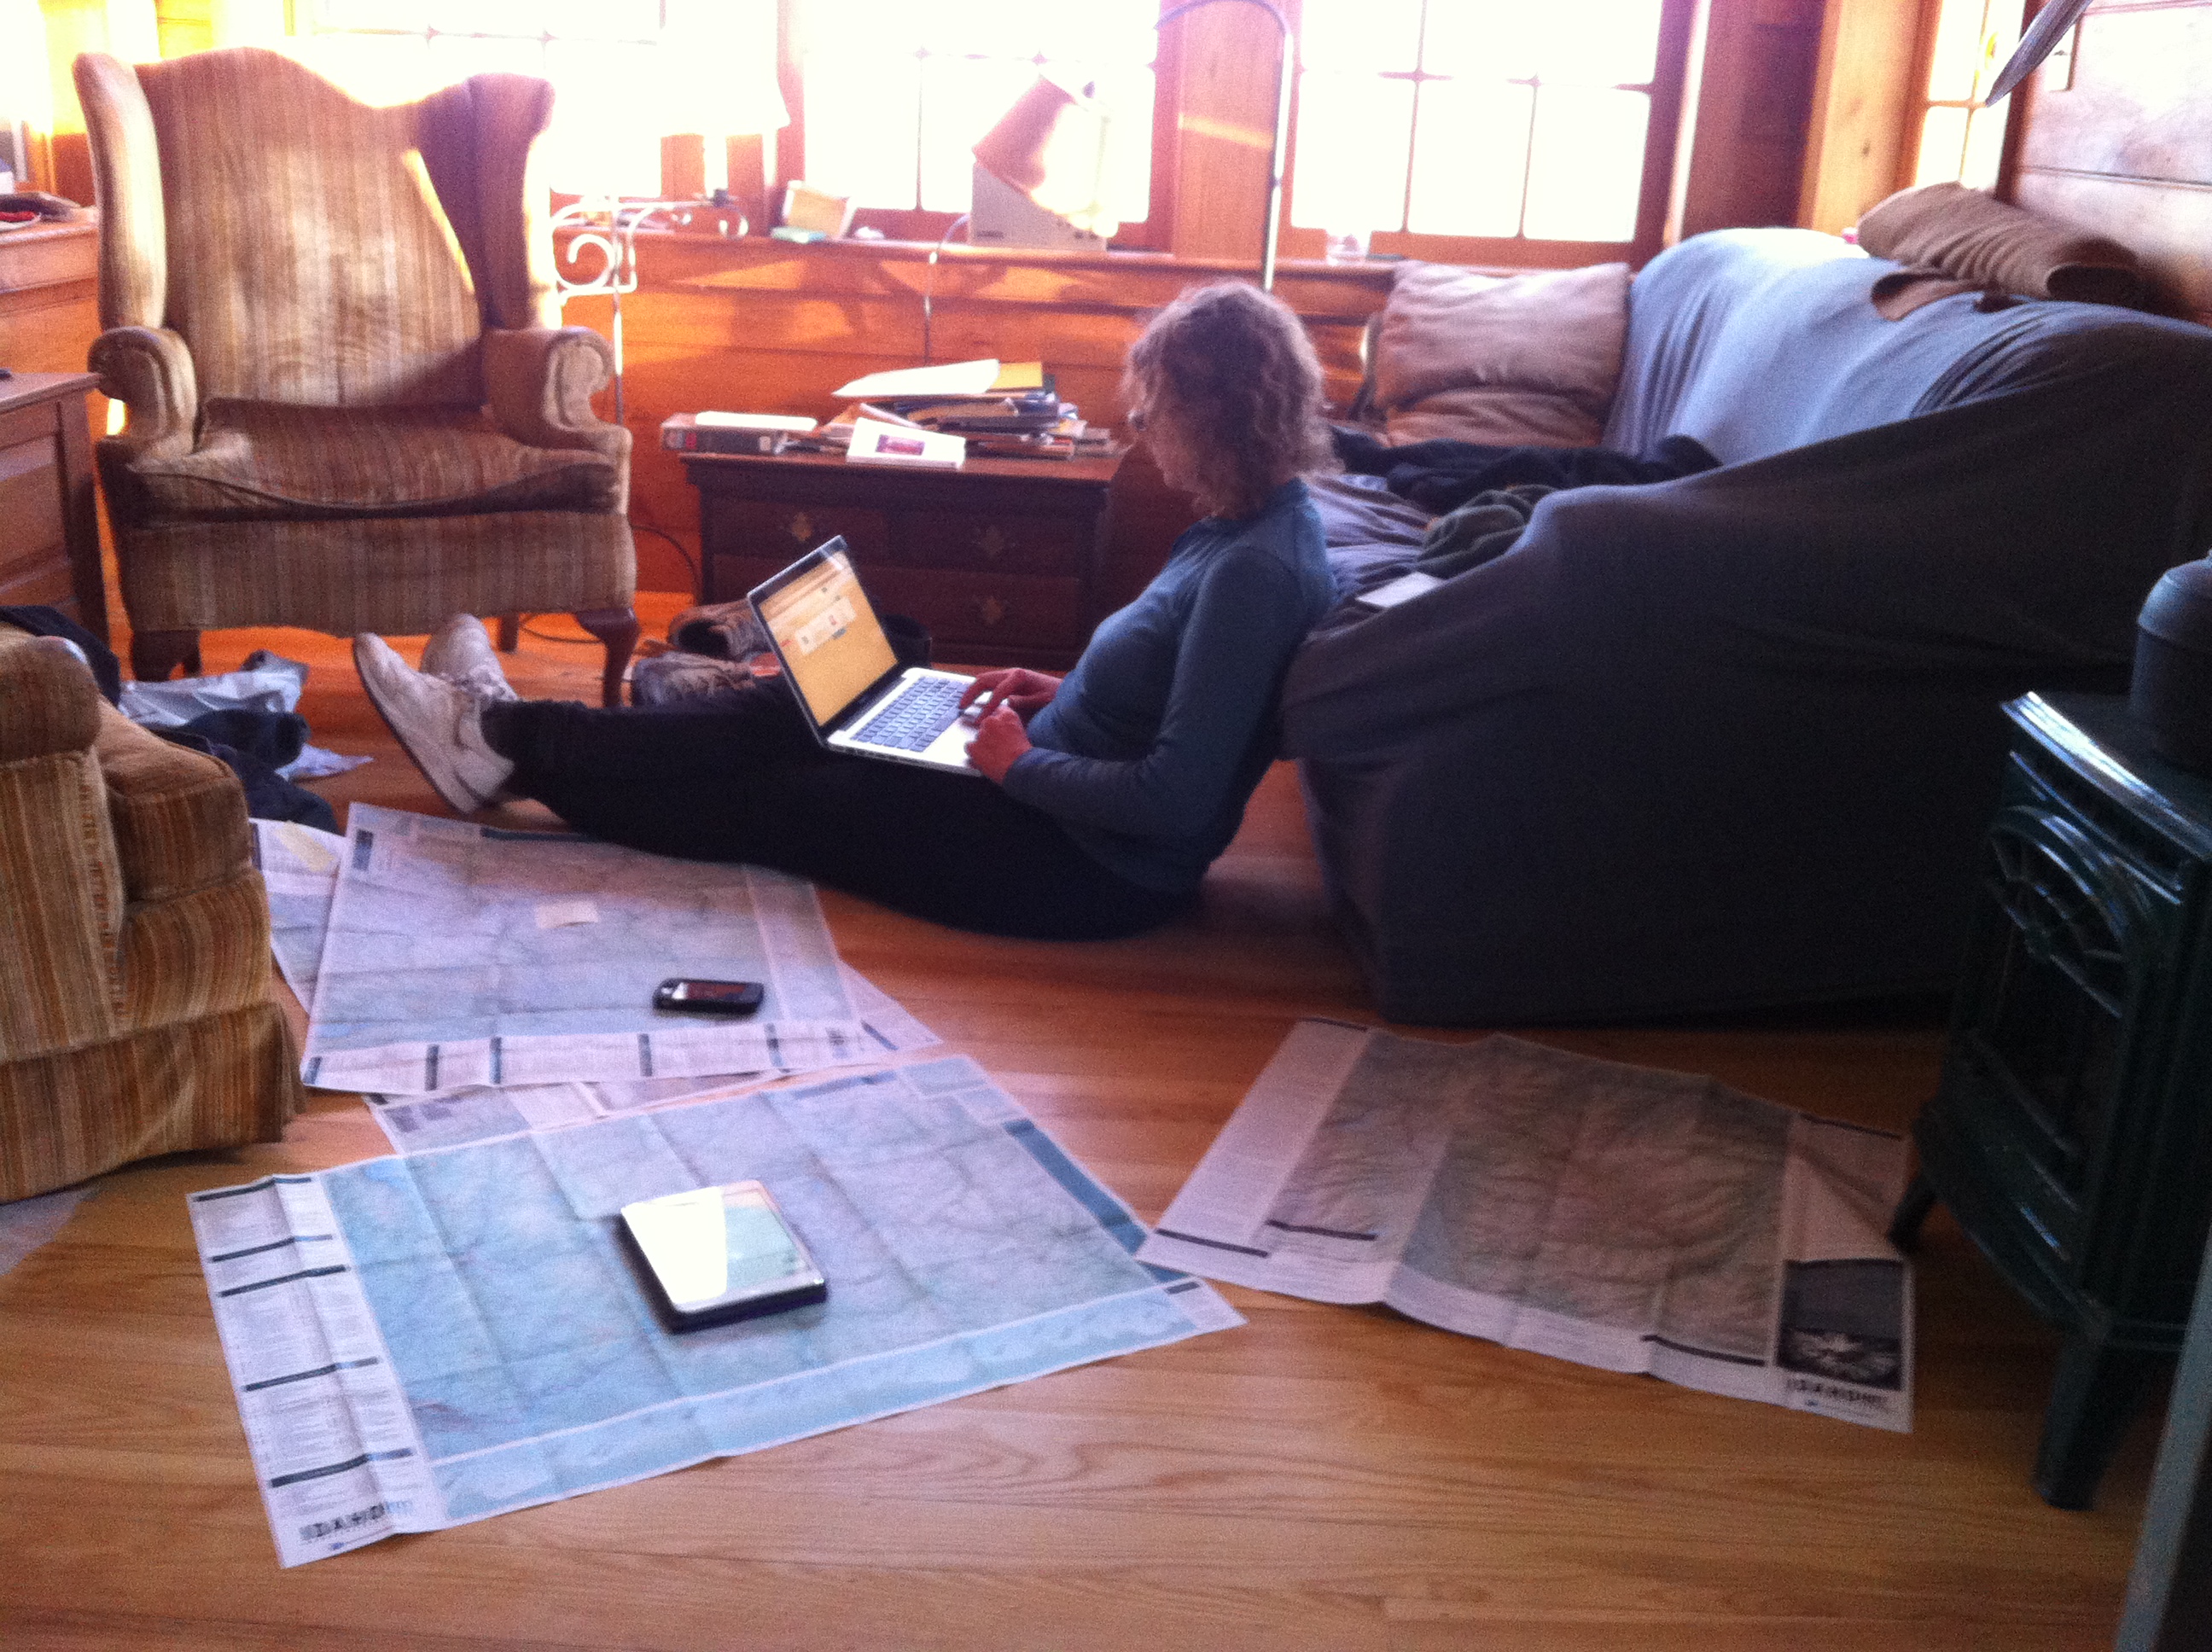
Map Time! Spending a rainy afternoon doing map and internet research. These are the projects that work a lot better in a bigger house!
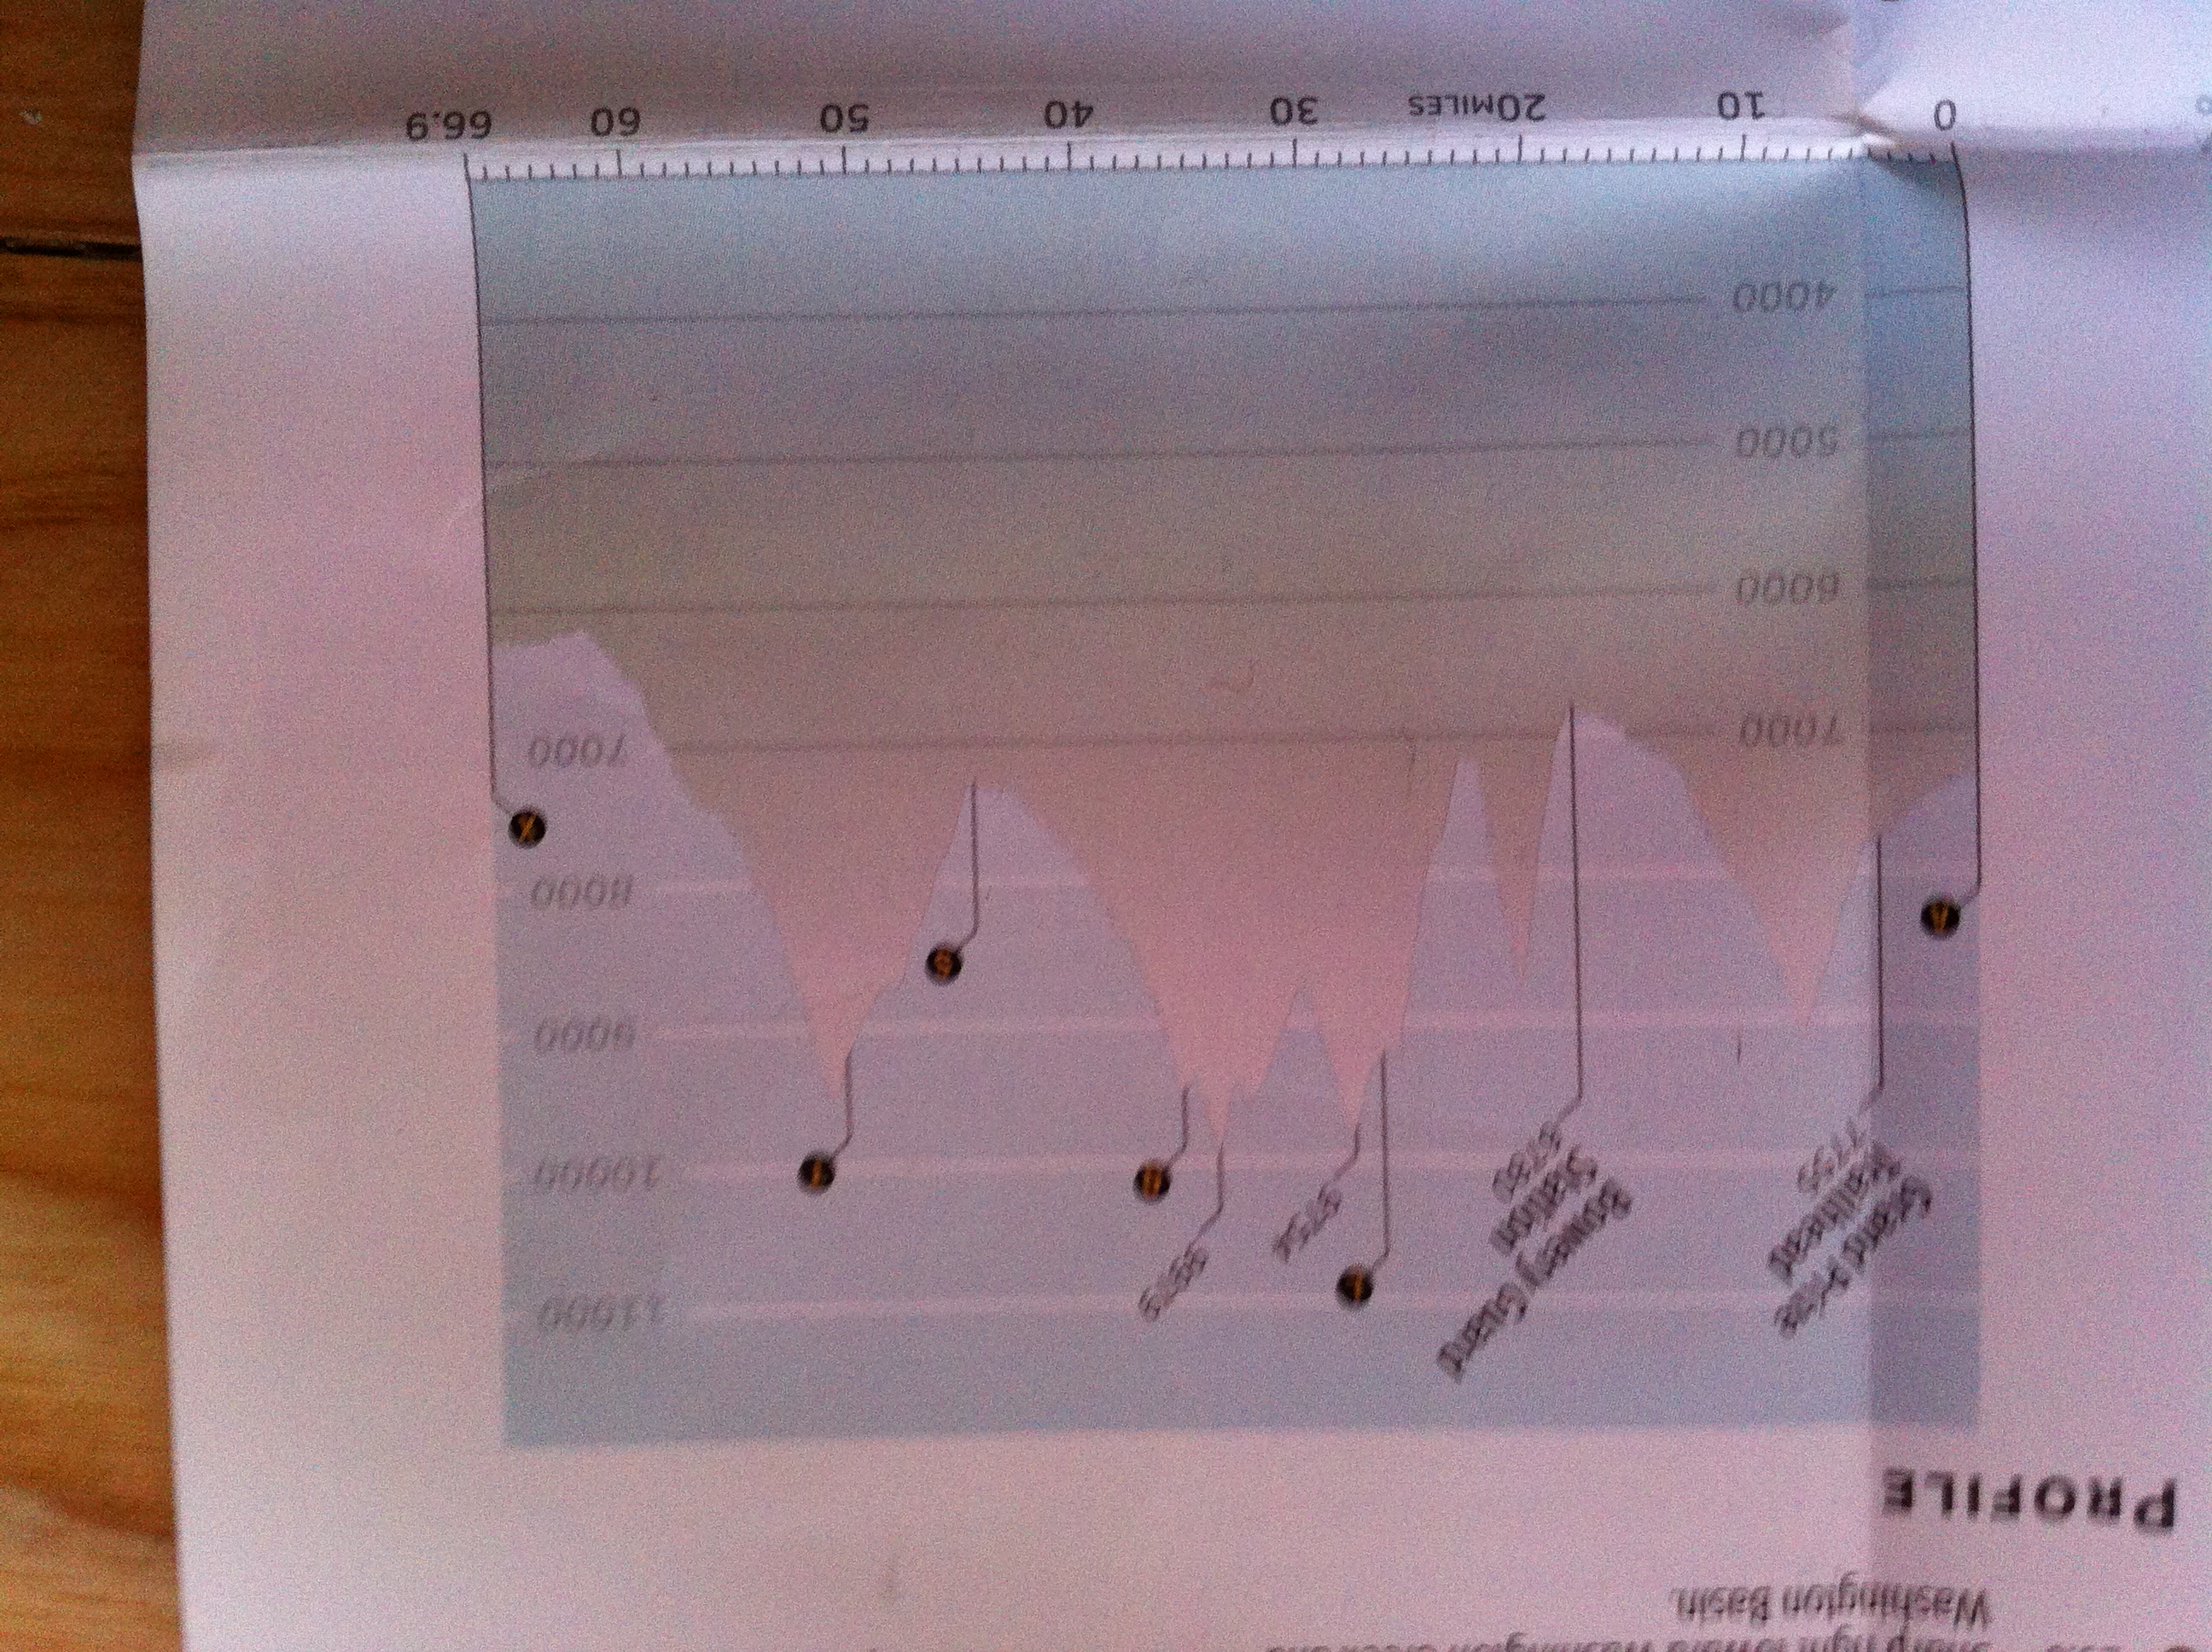
Here’s the elevation profile of one 66 mile section of trail which fluctuates several times between 7,000 and 10,000 feet. We figure this will take us about 3 days and is about 10,000 vertical feet of climbing. For reference, the Tuckermans Ravine trail up Mt. Washington (summit elevation 6,288) has a total elevation gain of 4,200 feet.
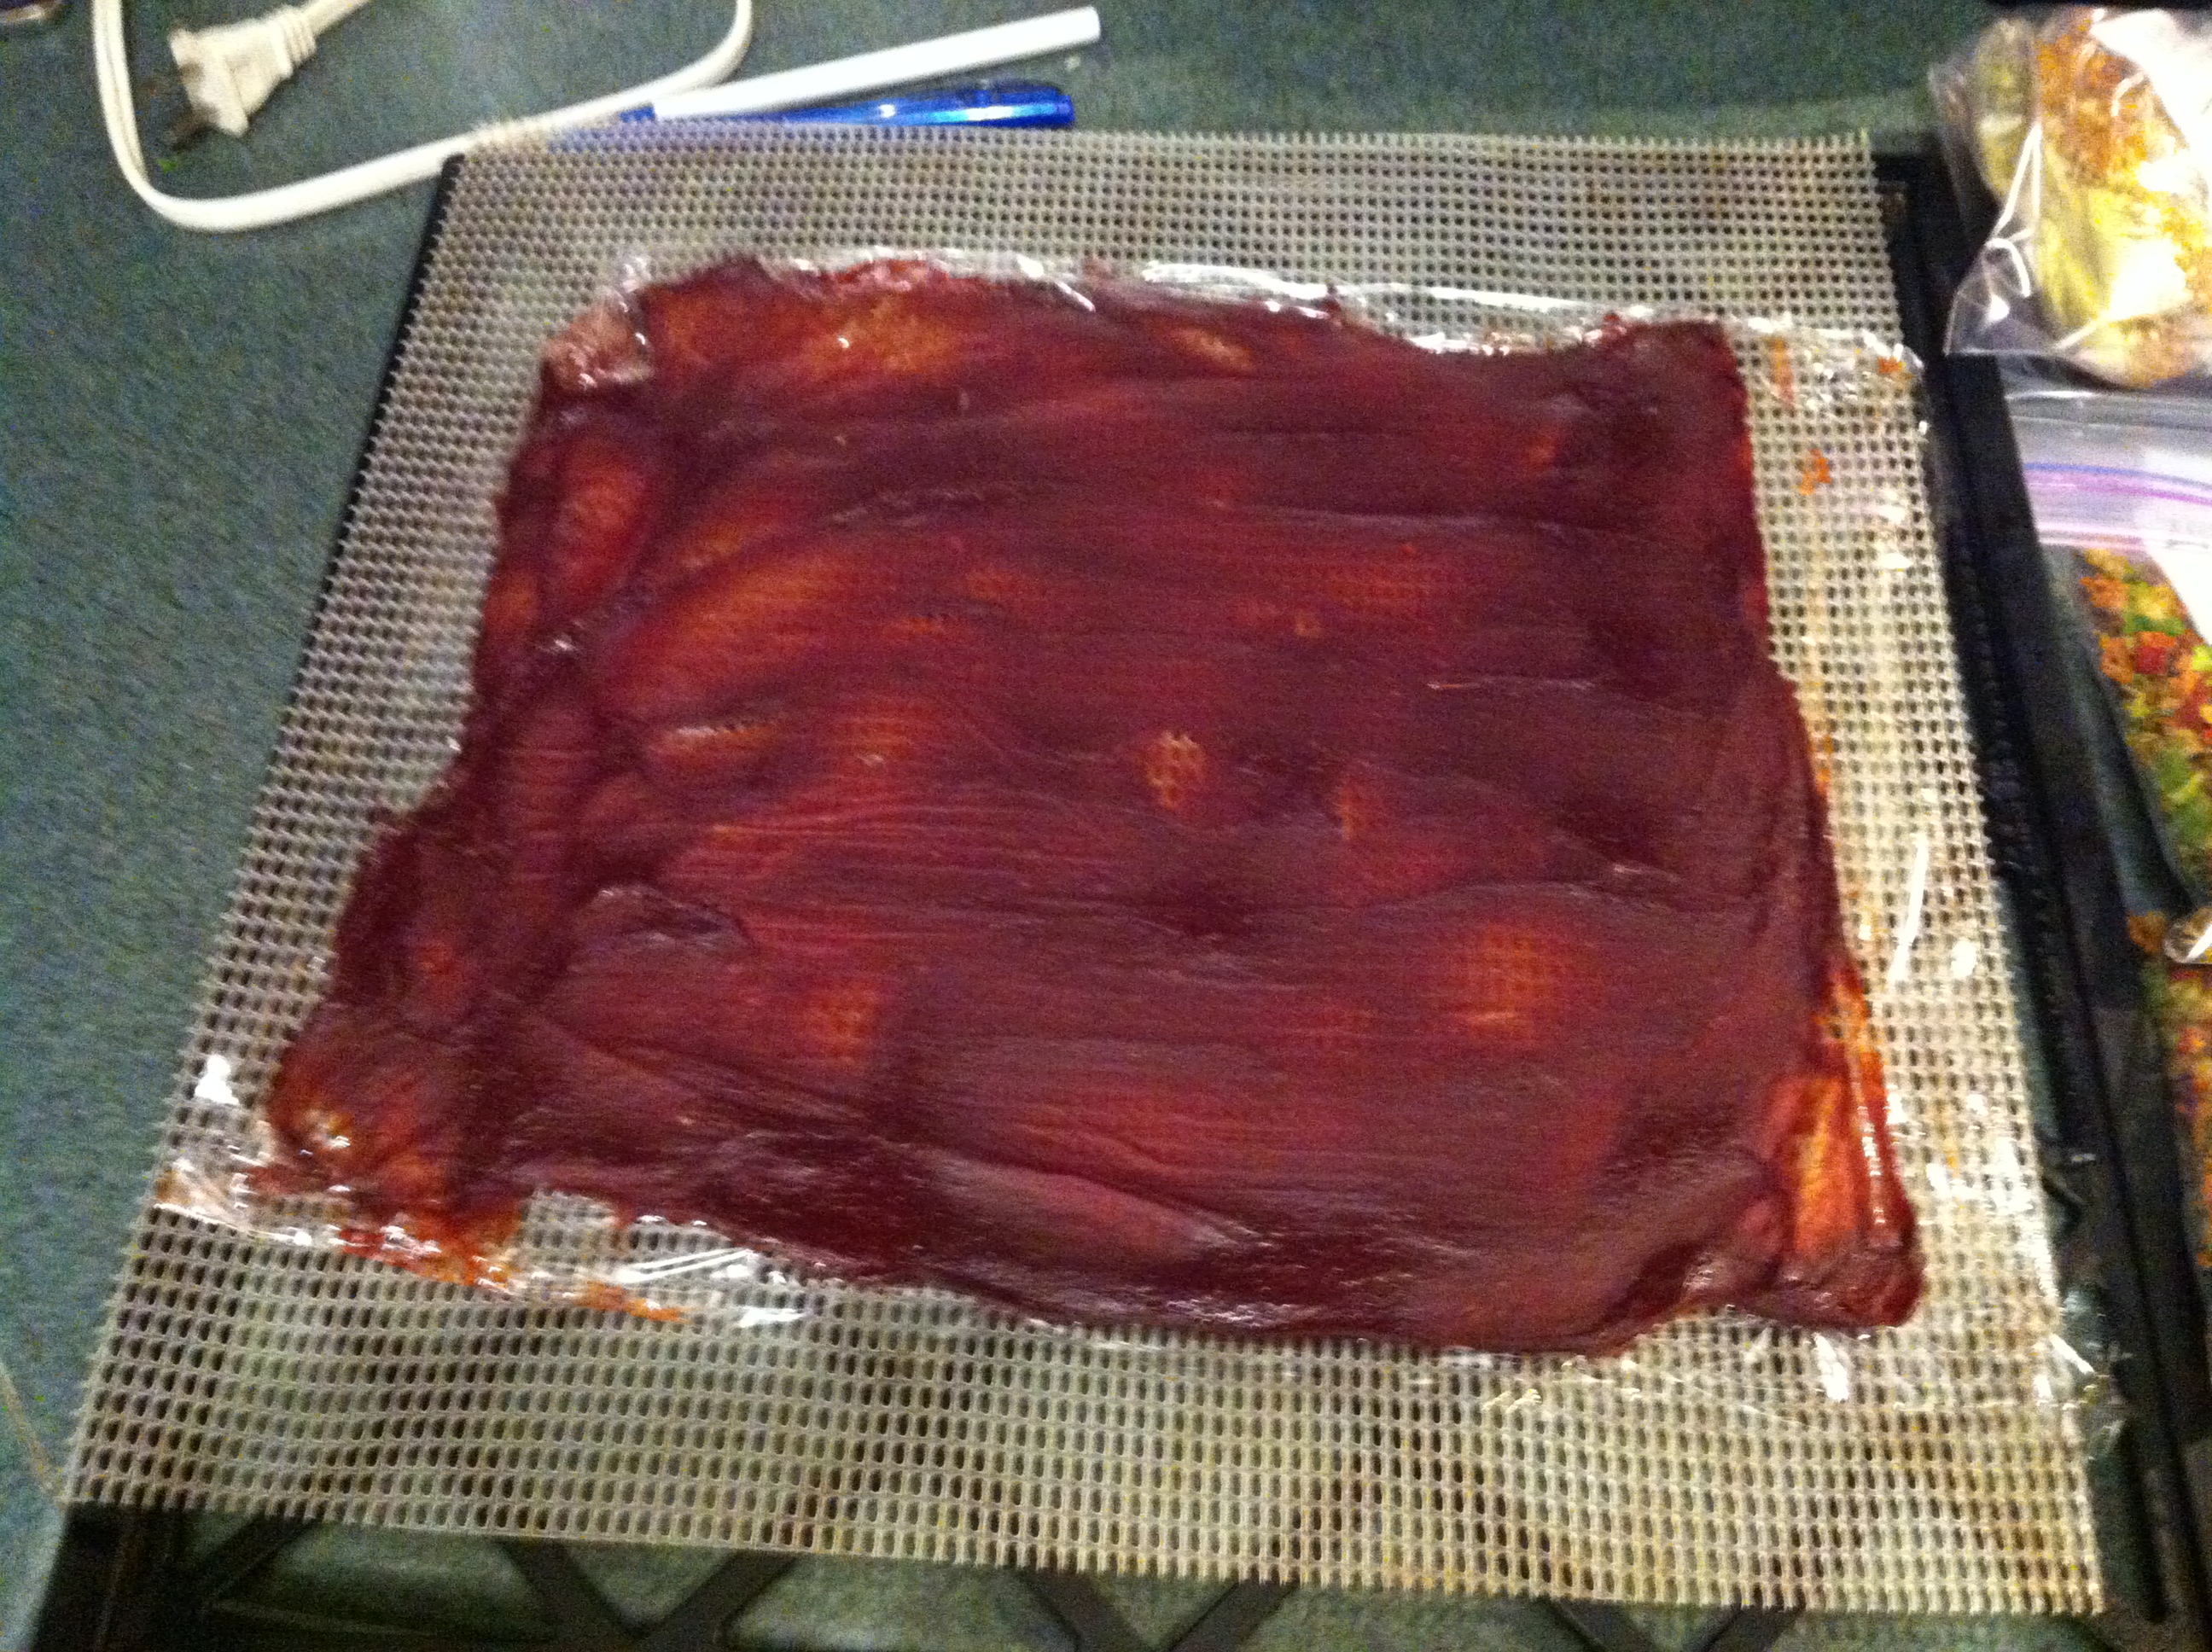
Tomato paste “fruit leather.” This will be a nice addition to some of the very plain instant pasta meals we’ll likely find along the road.
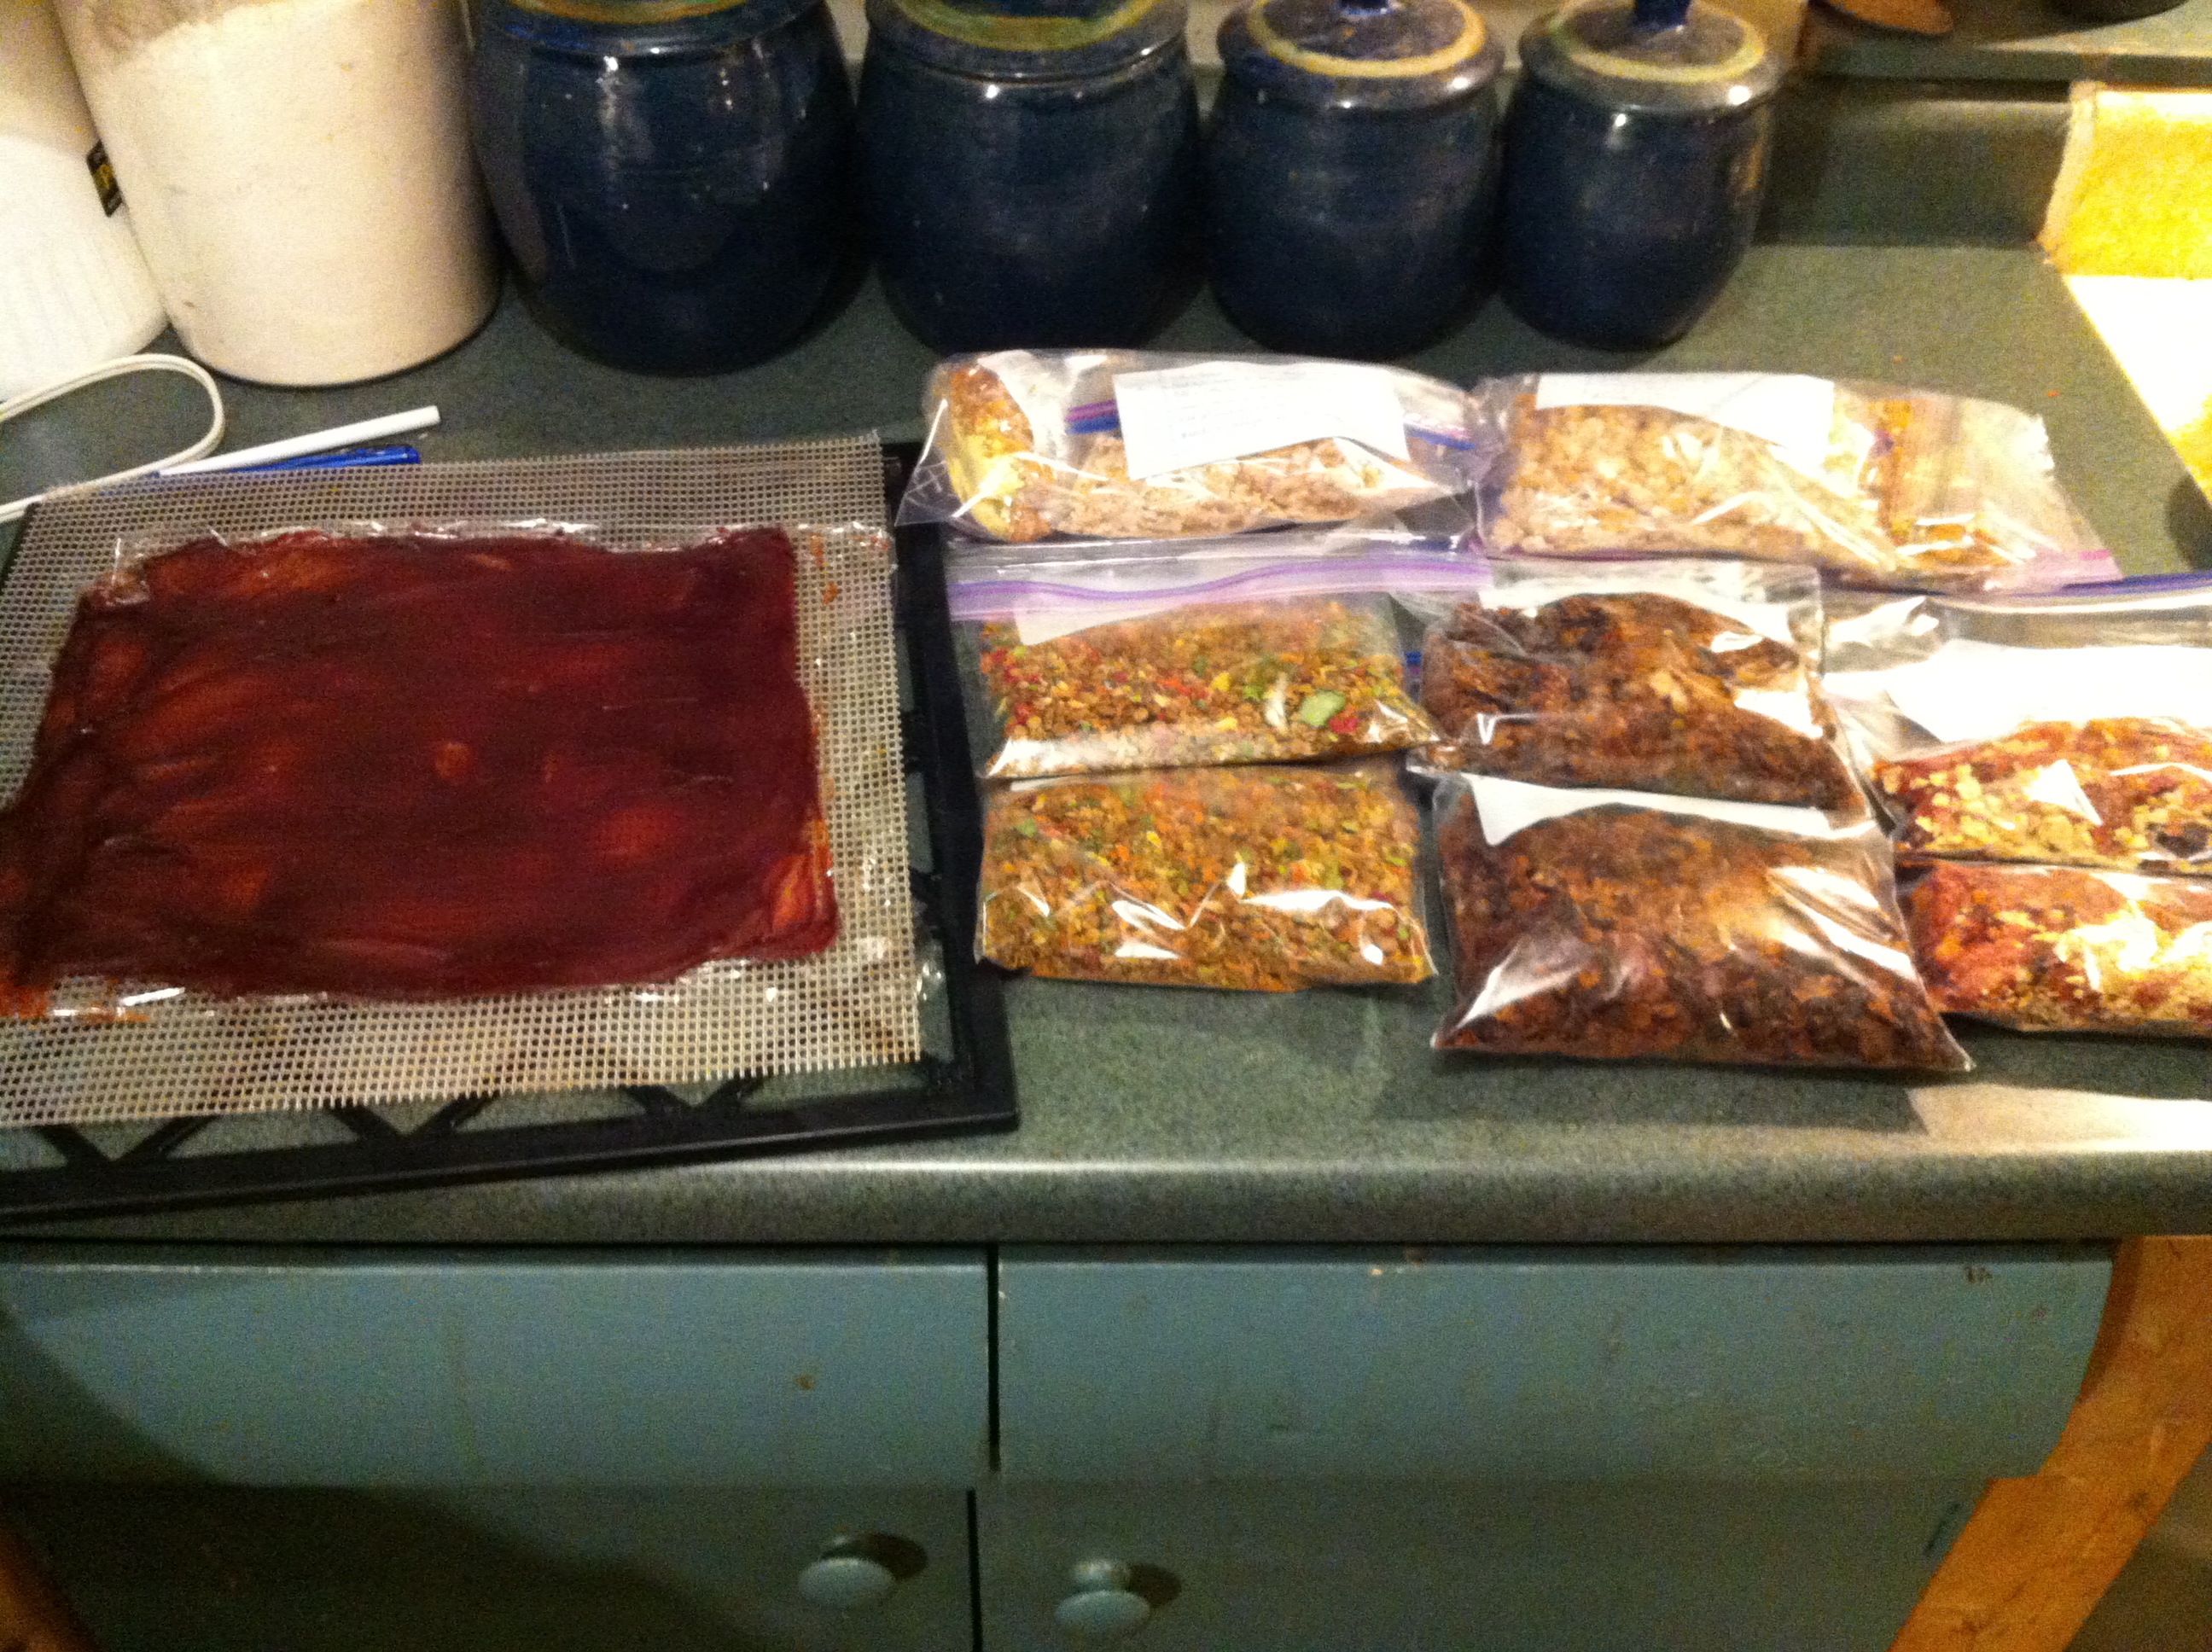
Each bag gets a slip of paper stating what it is, ideas for serving suggestions, and instructions for re-hydrating. This way we’ll keep track of what meals go best with what extras, how much water to add, how long to let hydrate etc.
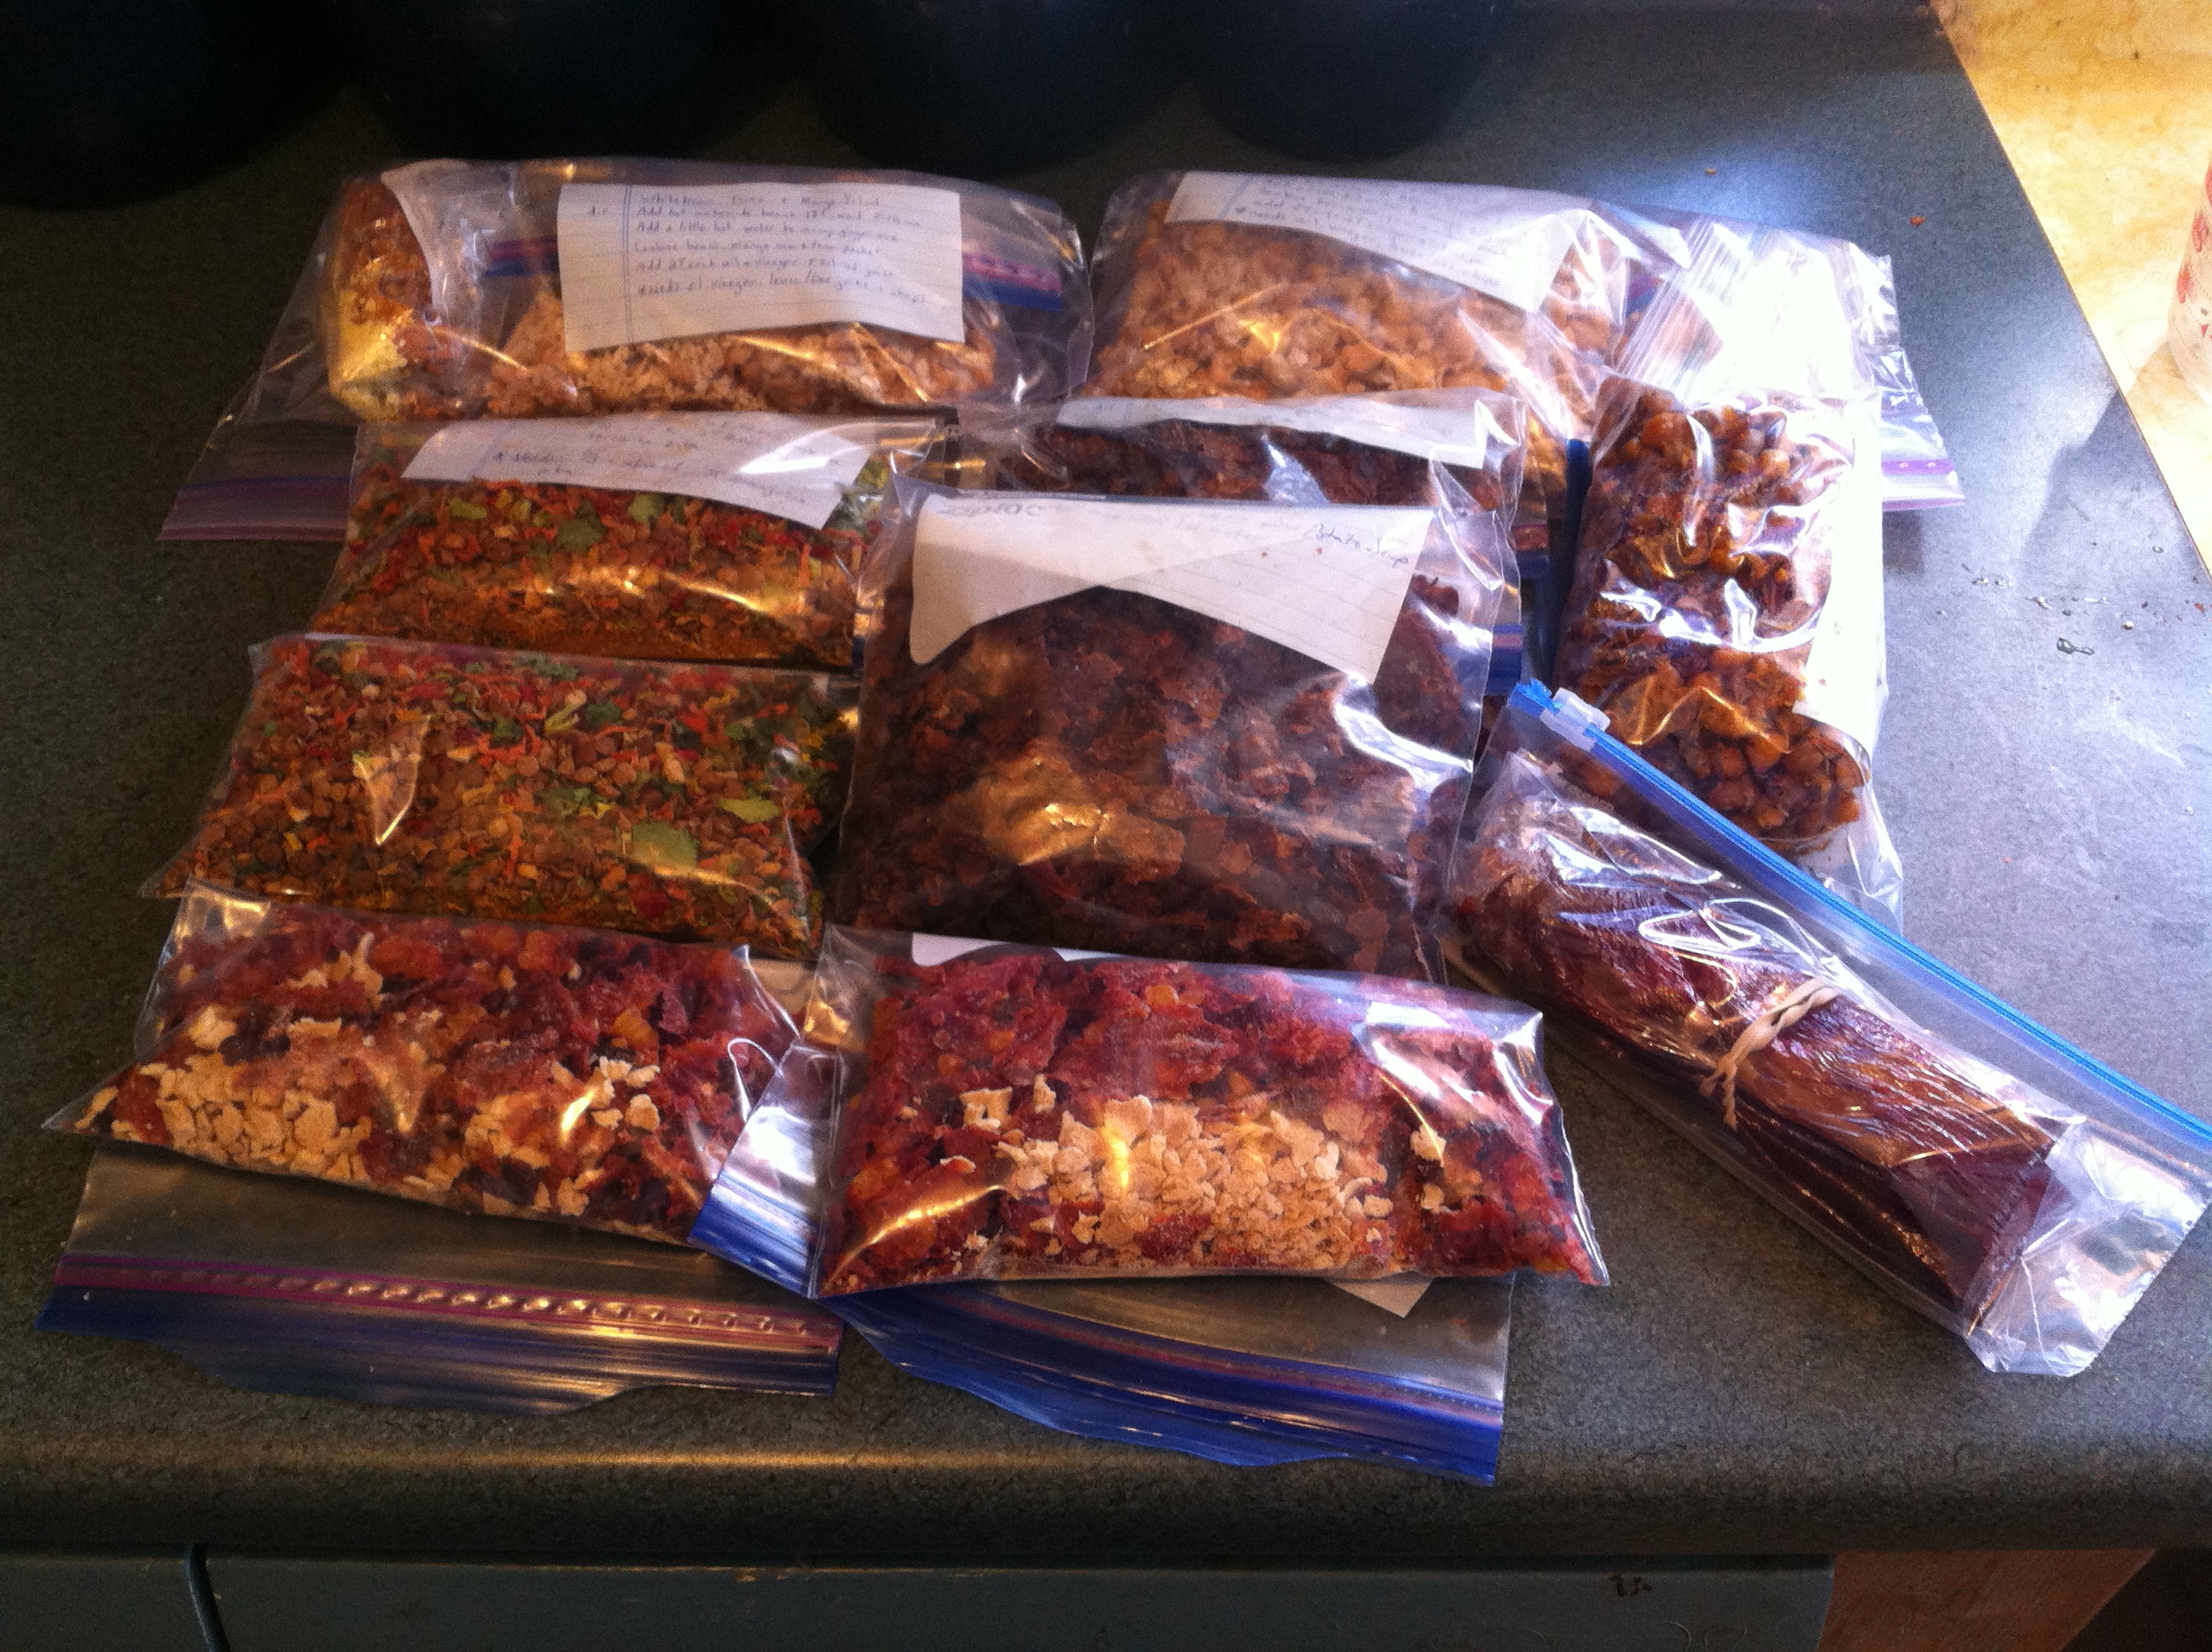
18 two cup servings complete! Weight just under 4lbs.
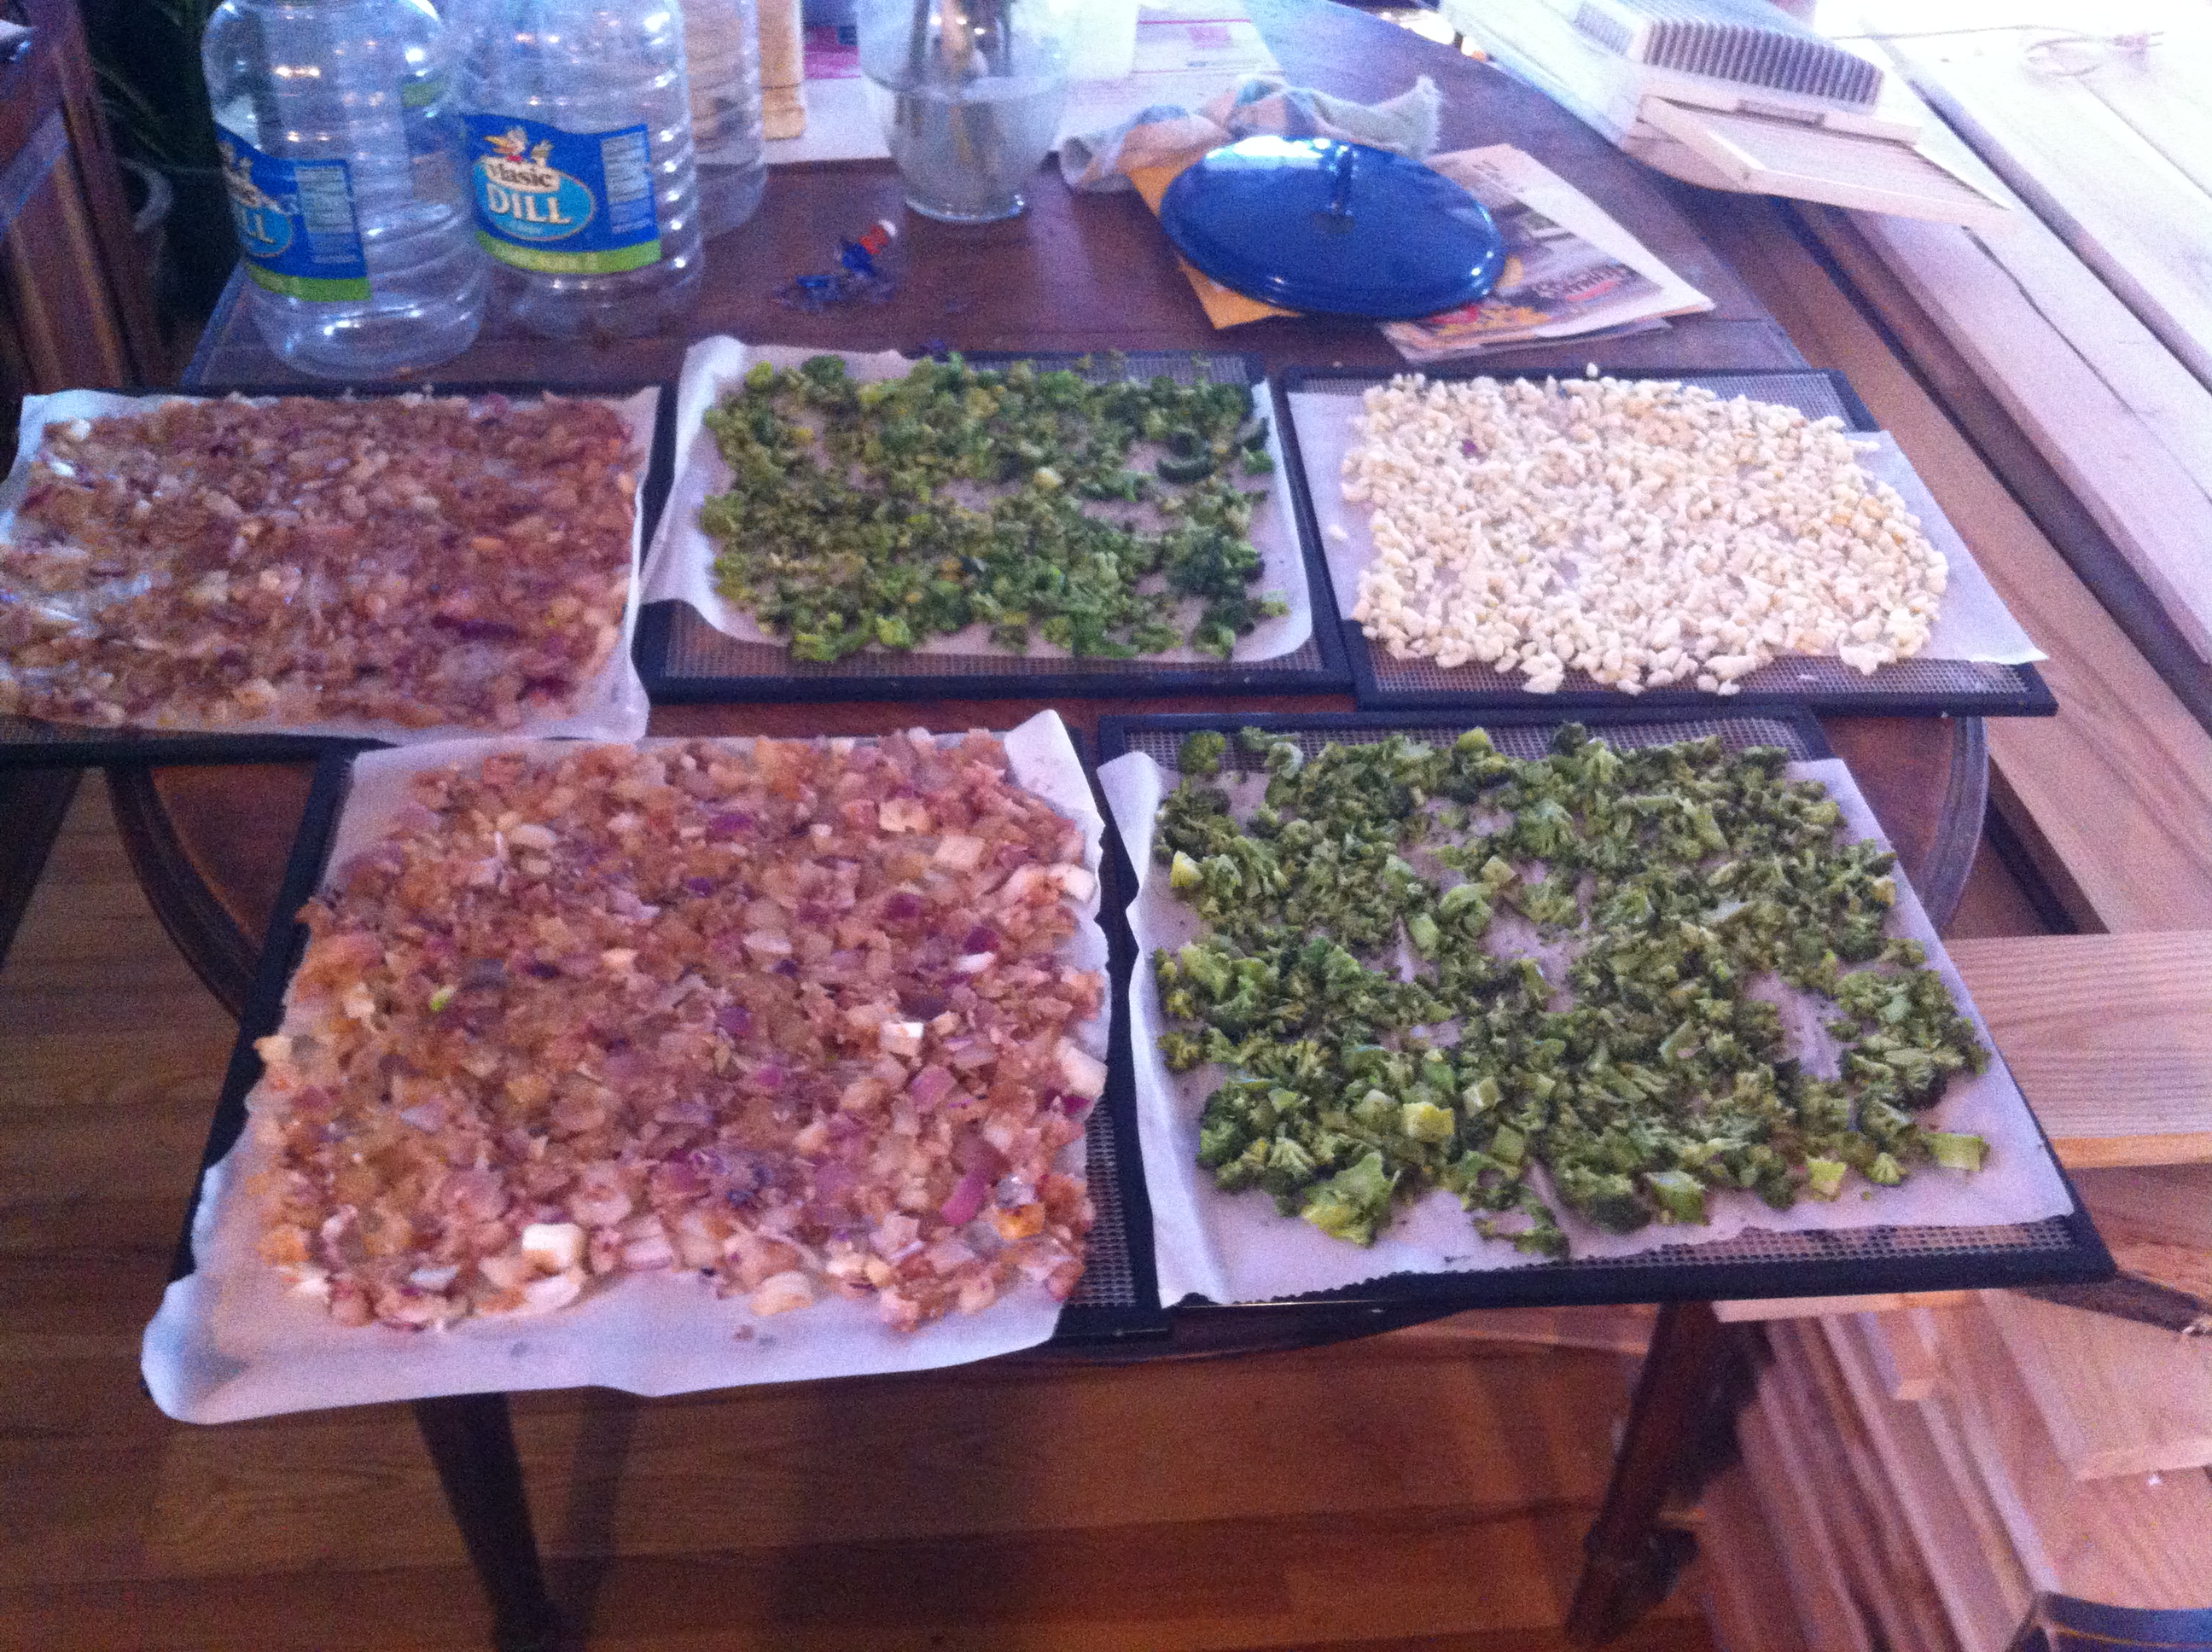
On to the veggies. Here we have caramelized onions, raw garlic, and blanched broccoli. Any instant meal we buy along the way will be enhanced with a small handful of each of these. They are cooked so as they’ll rehydrate at about the same rate as most instant meals. We’ll have a box of ziplock bags in our bounce box so we can just take a little bit of each item depending on how many days we have until our next re-supply.

Mushrooms and Carrots
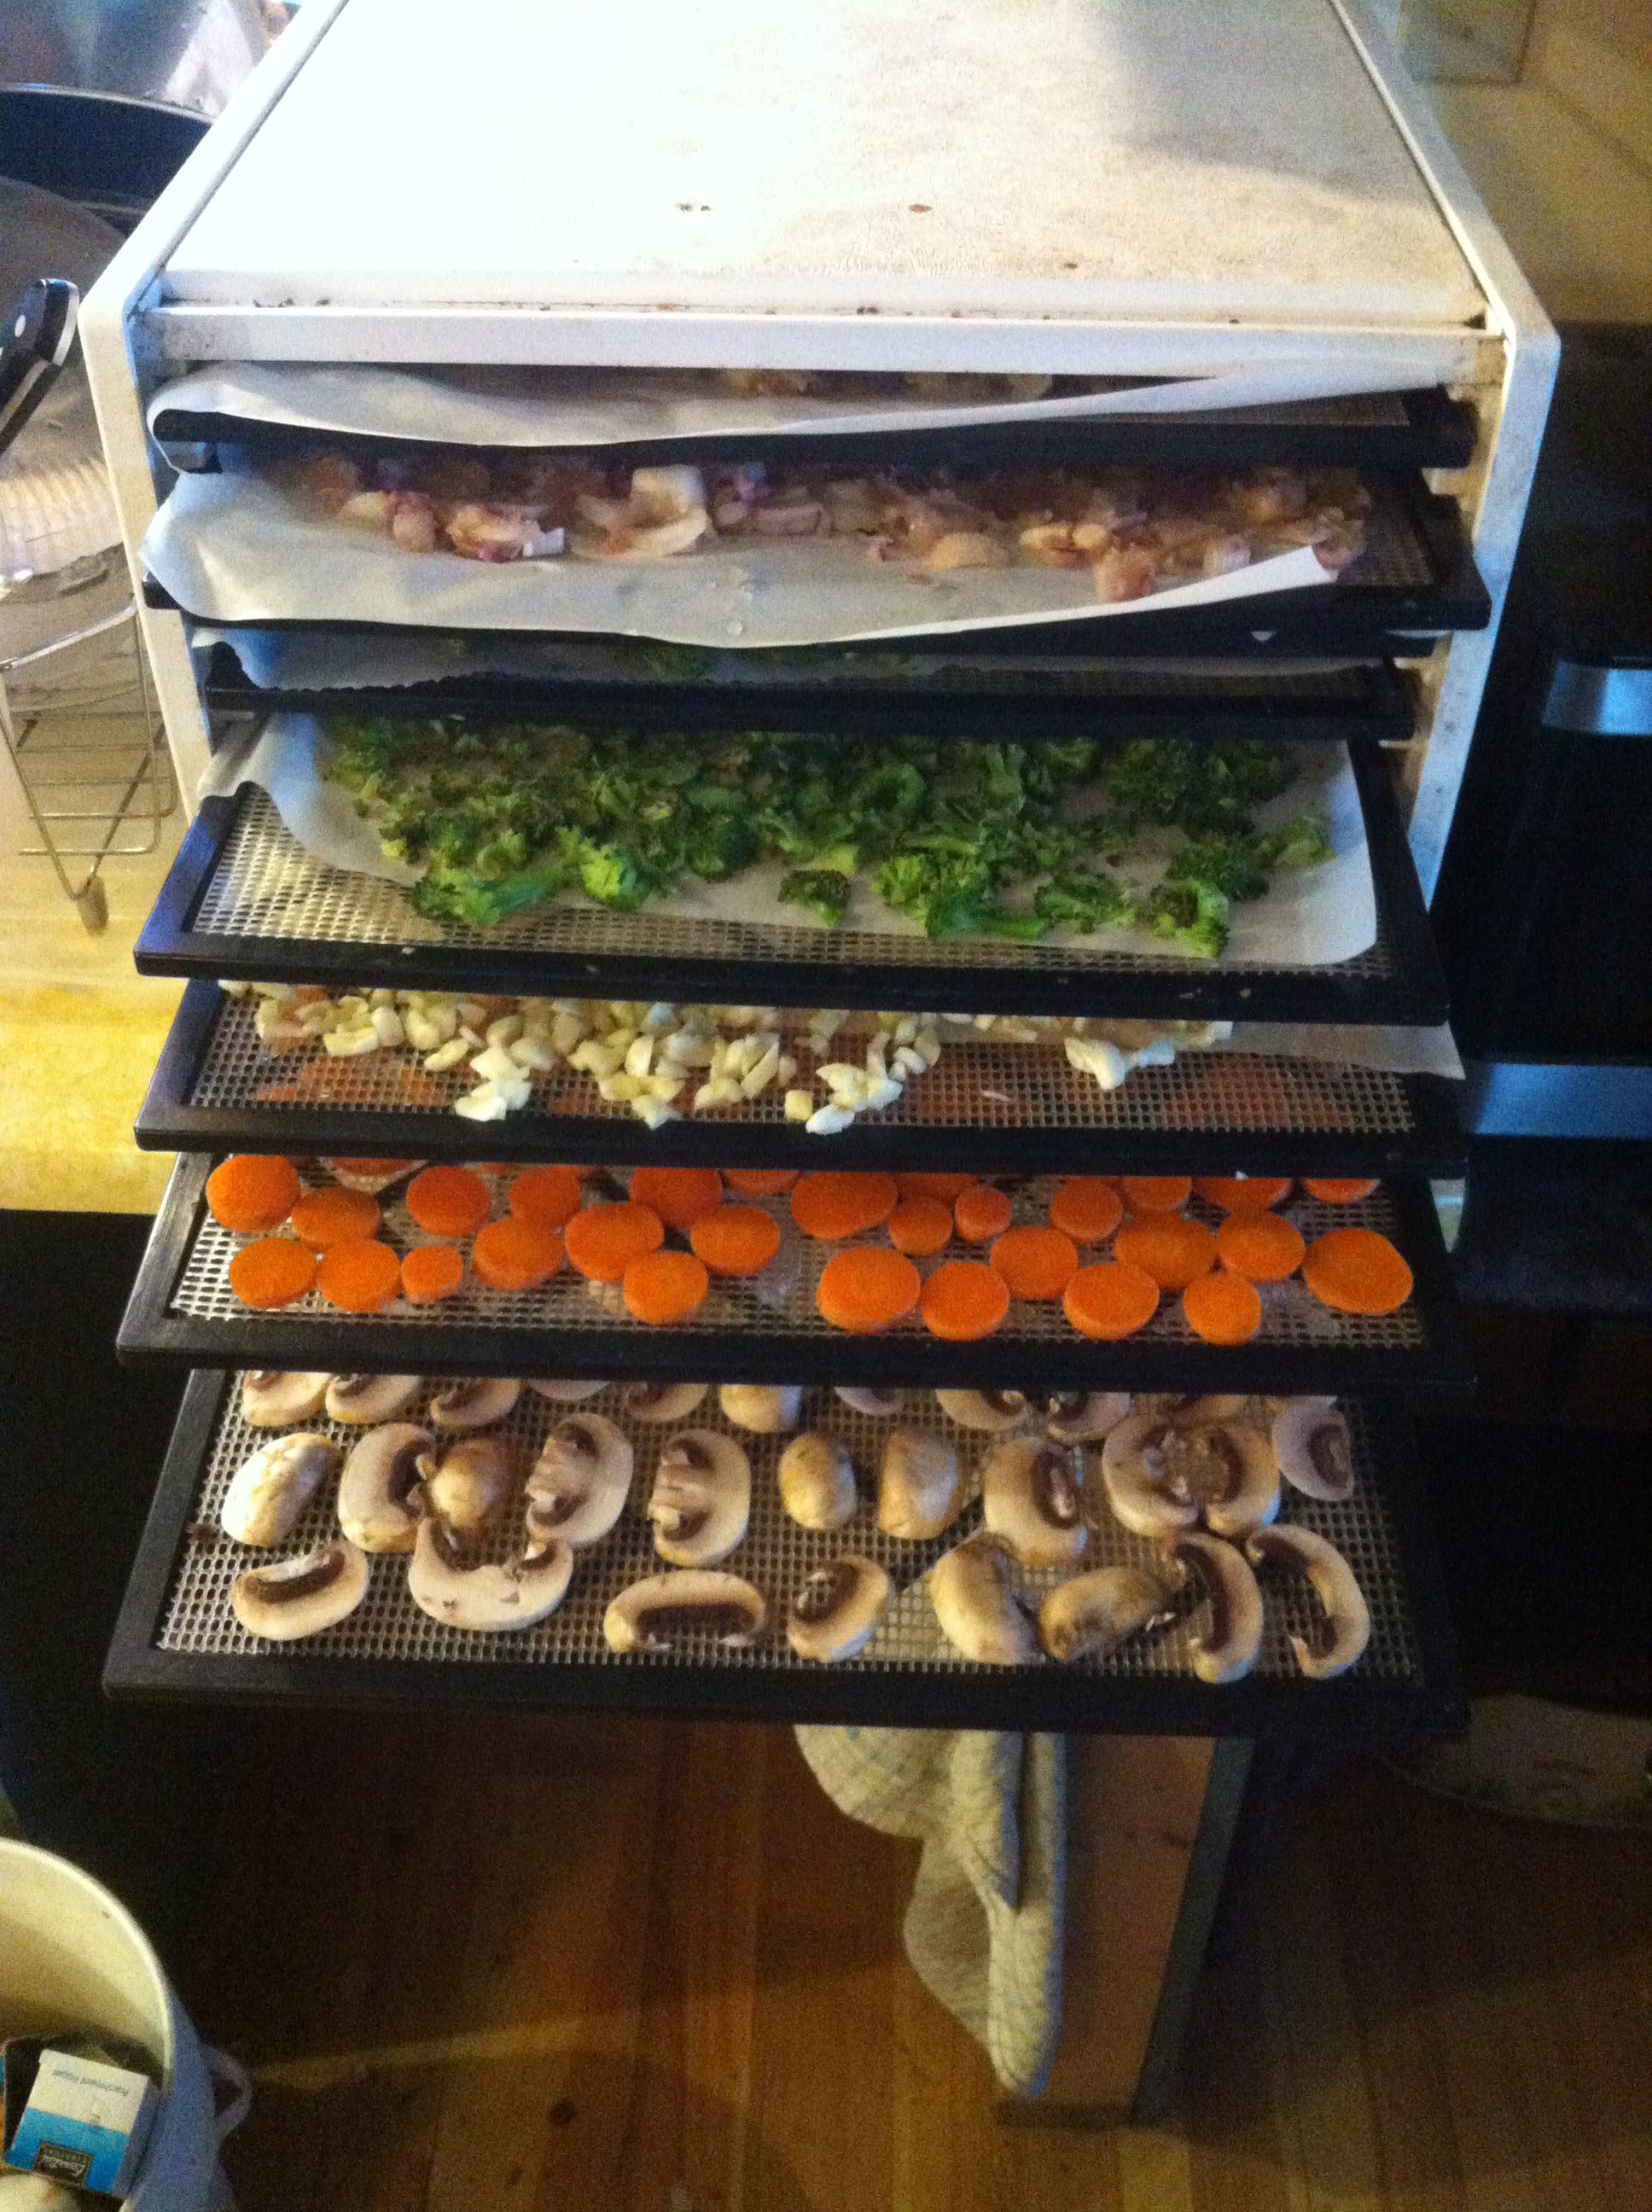
Fully loaded trays. Only one more batch after this one, with green and red peppers and another tray of carrots. I try to never run the dehydrator without 9 full trays, no sense wasting the energy.

I loved your post. My advice lto anyone who enjoys overnight hiking is to BUY A FOOD DEHYDRATOR. I sure wish I’d bought one sooner, hiking food has never tasted better and I’ve saved money too.